


Wing - Spars
Cut the holes in the spacers and drill the tie-down assemblies.
| | Since I did not have a fly-cutter, I had to drill a bunch of holes until I had most of the center removed. Then I used a file, a dremel tool, and finally a deburring tool to get a nice mostly round hole. We're talking two hours here. At the end, you can see the part weighs about 1/2 ounce. Just about 1/4 ounce savings--woo hoo! |
| | If you don't have the proper tools, I think is a lot easier to simply cut a bunch of holes in the spacers and deburr all of the holes, like so. |
| | The final weight of 4 spacers is just over 2 ounces. That's 5 or six hours to save 1 ounce! You do the math. But I had to do it; otherwise, people would think I was lazy. Now, they'll just think I'm stupid! |
| | Ok, here is my first mistake (other than spending 6 hours trying to save 1 ounce). Notice, that I have drilled the platenut holes centered on the part. First, I match-drilled the tie-down bar to the spar. Then I centered the spacer on the tie-down bar over the correct holes, and drilled the spacer for two platenuts. Unfortunately, the spacer should be clamped to the spar and then drilled, because the spacer is not supposed to be centered on the tie-down bar--scratch one spacer. Fortunately, there is enough material left over to cut another spacer. I hope I don't need the rest of that material for something else. |
 | I drilled several other holes incorrectly, and spent a lot of time with a deburring tool making things fit. There's nothing wrong with the final assemblies, but I spent way too much time on this. So, here is the correct sequence (or, you could just read the instructions and follow them). First, mark the upper right corner of the 731 tie-down per the drawings, and drill just ONE hole. |
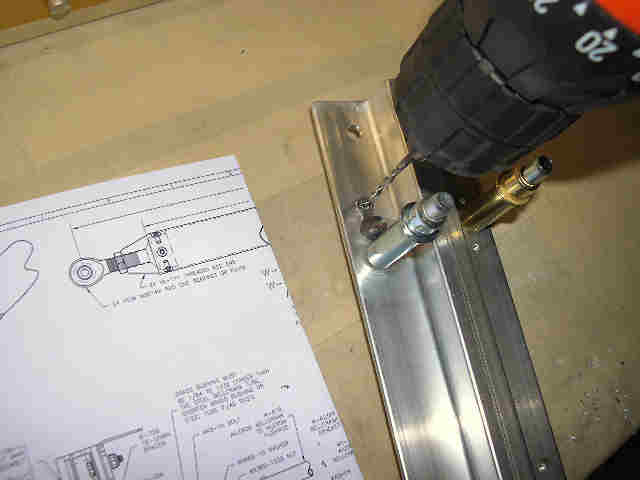
 | Next, bolt the tie-down to the spar, and backdrill the hole next to the first hole. Insert a bolt in that hole, and backdrill the other holes. |
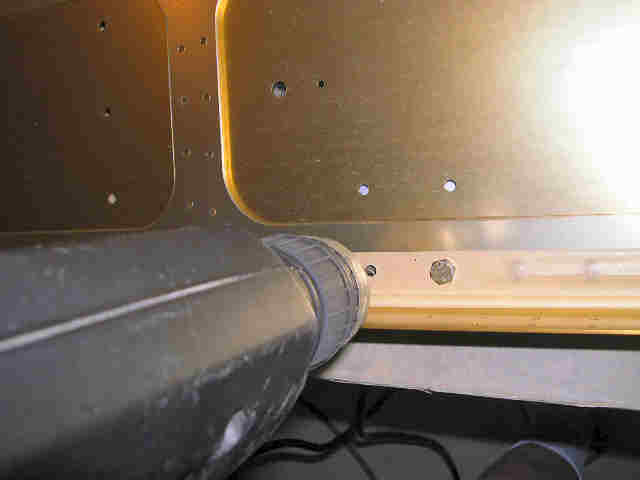
 | Now, attach the spacers to the spar, and attach the tie-down to the spar. I used tape on the spacers, since it is hard to drill with clamps all over the place. |
 | Then backdrill the spacers. |
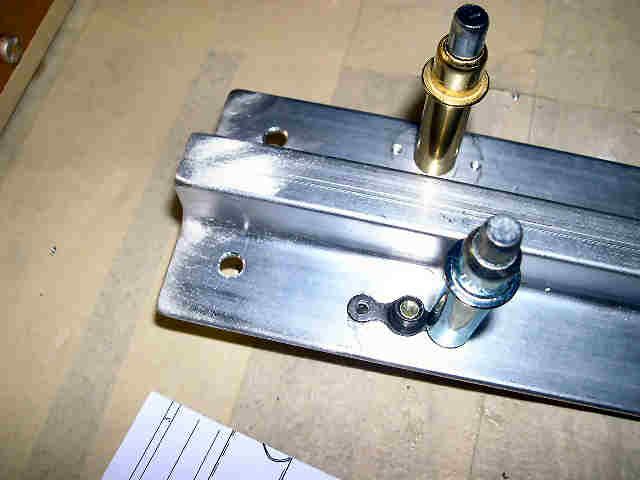
 | Next, insert a bolt through the spar/spacer/tie-down and bolt on a platenut. Then use the platenut as a guide to drill a hole into the tie-down for each platenut, but make sure you do not drill through to the spar. |
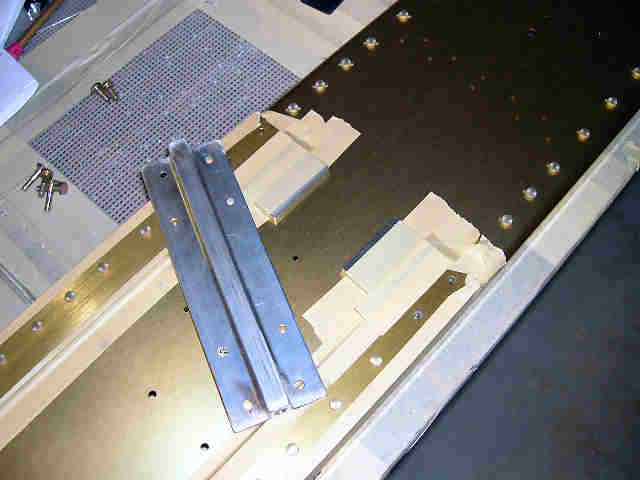
 | Remove the tie-down assembly from the spar and drill the holes for the platenuts. |
 | Note, that I got to use one of my 3/16" clecos to clamp the spacer to the tie-down while drilling the opposite platenut. I bought a dozen of these, just in case. |
 | |
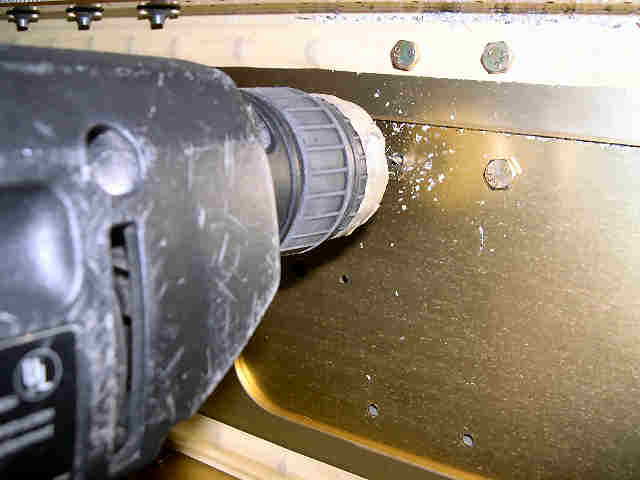
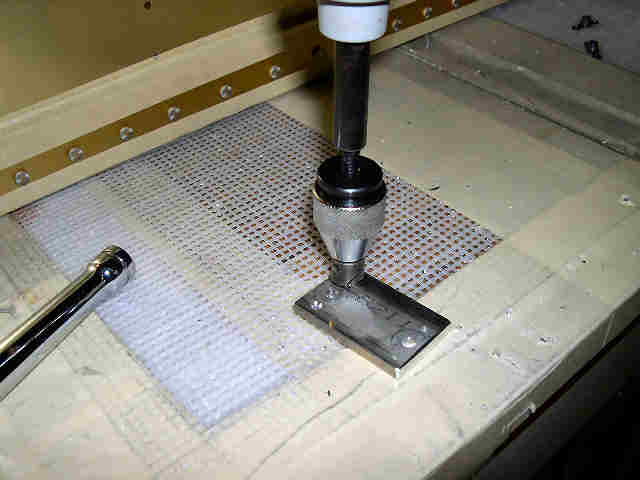 | Free-handing the countersink in the spacer for the rivets. This is attached to my portable electric screwdriver. This is the setup that I use to deburr holes when I can reach them. |
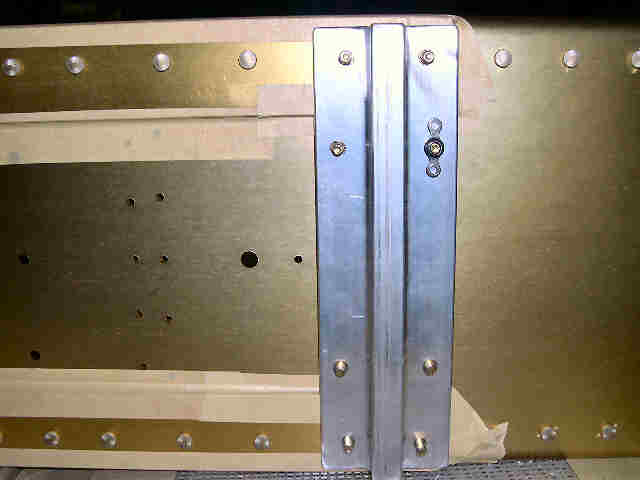
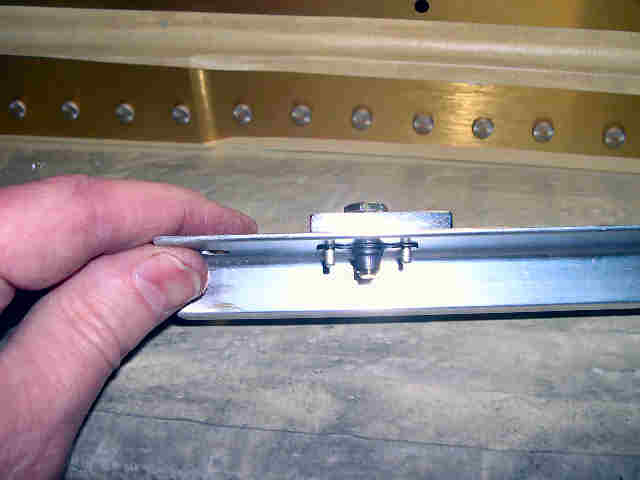
 | Before setting the rivets, I reattached the tie-down assembly to the spar, just to make sure that things fit properly. |
 | Then set the rivets for all of the spacer/tie-down/platenuts. |
 | All done. Should be about an hour of work--two if you are slow--four if you are me. I still need to prime the assemblies, but it it too cold in Austin, Tx right now to paint. I also need to tap the holes for the tie-down ring, but I need to buy some tie-down rings first. |