


Wing - Fixtures and stands
02/06/04-02/08/04 - Yet another seeming simple task that should be done in 2-4 hours, which took me 15 hours. I don't know what it is--I'm just plain slow. I would hate to have to pay myself to build this airplane. There is now way that I could afford me. Then again, I don't charge all that much.
I had a few requirements before I started: (1) I wanted to be able to open the garage door far enough to at least get in and out; (2) I wanted the ability to easily take down the stand so I could open the garage door all the way, if need be; (3) it had to be somewhat adjustable; (4) it had to be sturdy; and, (5) I really didn't want to drive any nails into my slab. I thought about making it moveable, but, hey, let's not get too complicated.
So, I looked at a number of websites and got some ideas, mixed them around with my own, and came up with an image of what I wanted to do. Unfortunately, things tend to change when I actually start building. I ended up putting the stand up, taking it down, moving it a little, putting it back up, driving bolts through the wood, driving the bolts back out, etc. And, big surprise, I spent a lot of time cutting, filing, and deburring the aluminum angle pieces. I don't know what it is with this compulsion to deburr everything. Anyway, I'm finally done, it solves all my requirements, it's very sturdy, it works, but honestly, it's really not all that great.
 | I started by making two 4x4 poles by nailing two pairs of 2x4s together. Then I built the ceiling attach points. First, I nailed short 2x4s to the ceiling joists (parallel to the joists). Then I attached two 1"x8"x12" pieces of wood to the 2x4s nailed to the ceiling. These are used to attach the 4x4 poles to the ceiling. I knew that those 12 foot 1"x8" pieces used to ship the wings would come in handy. That's why I put up with tripping over them every day for the past 3 months. |
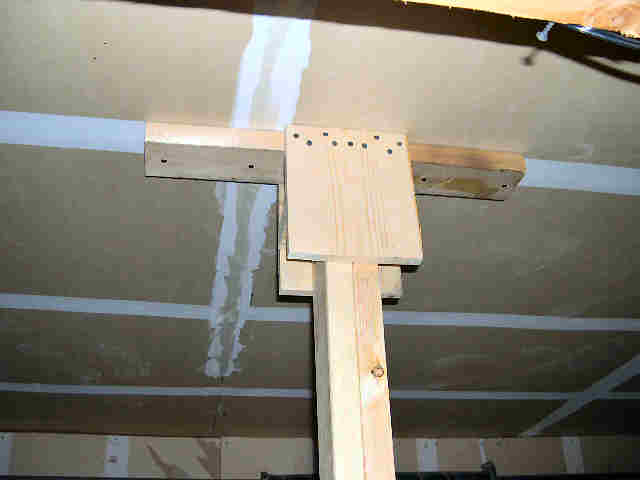
 | I had two joists that seemed to be the right distance apart, so I nailed the second pole up just like the first. However, after putting the wing on the stand a few times, and building everything else, it was apparent that the rear spar attach points were too far apart. I had to take the second pole down and redo the ceiling attach point. I needed to put the ceiling attach point across two joists, instead of in line with the joists. This allows the second pole to be somewhat adjustable (see requirement #2), since the attachment can slide along the 2x4 that is nailed to the ceiling. Also, note the bolts used to bolt the poles to the vertical attachment (requirement #3). |
 | Here the bottom attaches to one of the 12 foot 1x8s from the wing shipping box. A 2x4 is nailed into the bottom of each 4x4, and then the 2x4s are nailed to the 1x8. The nails actually poke through a little to grip into the concrete (without actually being driven into the slab). |
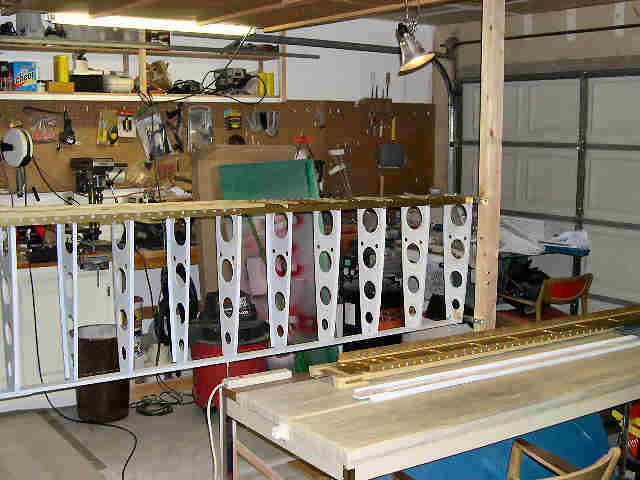
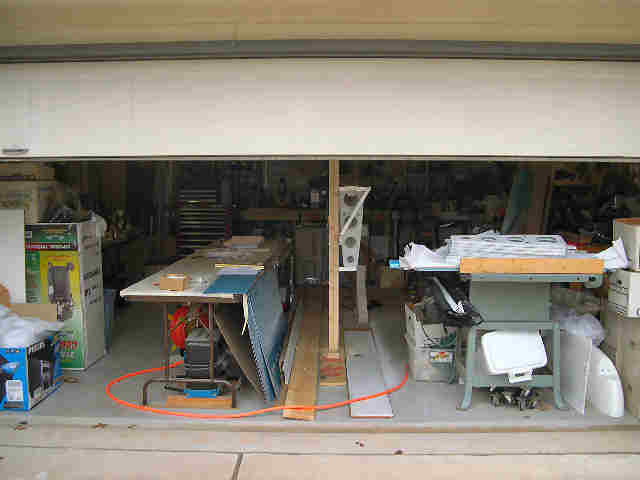 | Here you can see that the garage door opens just enough to get in and out (requirement #1). |
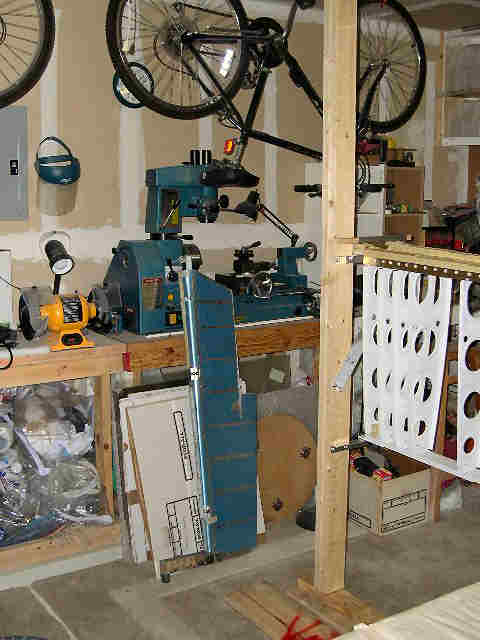
 | On Saturday, it looked like I was almost done, but I still had lots to do. What a mess. I spent at least another hour cleaning up this mess. Then I came back on Monday and spent another hour rearranging the garage. What am I going to do when I get a fuselage in here? |
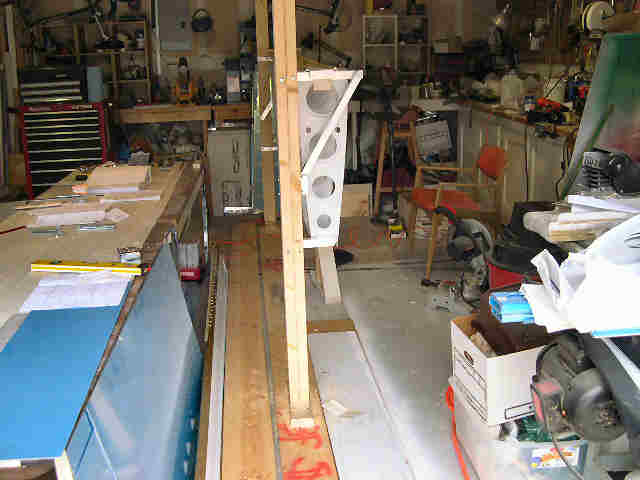
 | I used a piece of wood to clamp down on the main spar. Note the duck tape on the wood and the aluminum angle. Bolts are just finger tight. BTW, I could not find anything that said how high to hang the wing, so I measured the length of the ribs, added the width of the flaps, and then I added a few inches to be safe. That was about 46", so 48" sounded just about right. However, after building the main spar hanger, the top piece was not quite level, so I decided 50" was a little better--seems to be a little more level up higher. |
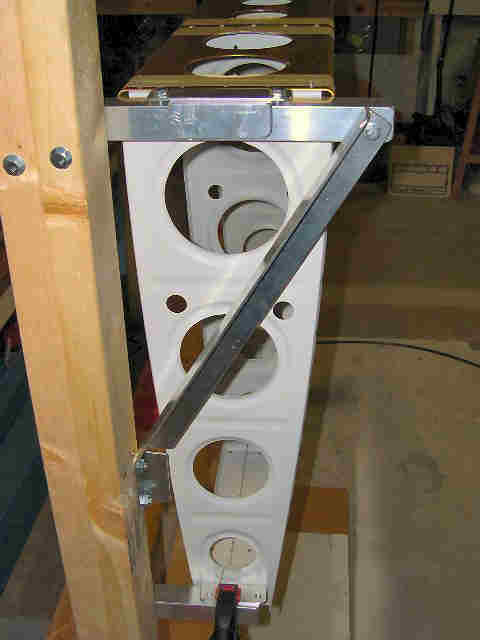 | The other end has a piece of angle bolted to the outer rib, per Van's plans. Also, note the extra piece of angle used to shim up this end a little--I wasn't quite level. This was the last piece left from an 8 foot piece of 1 1/4"x1 1/4" aluminum angle. That's right, I used 8 feet of aluminum on this thing. |
 | Just enough room to get around the end of the stand at the head of the garage. |
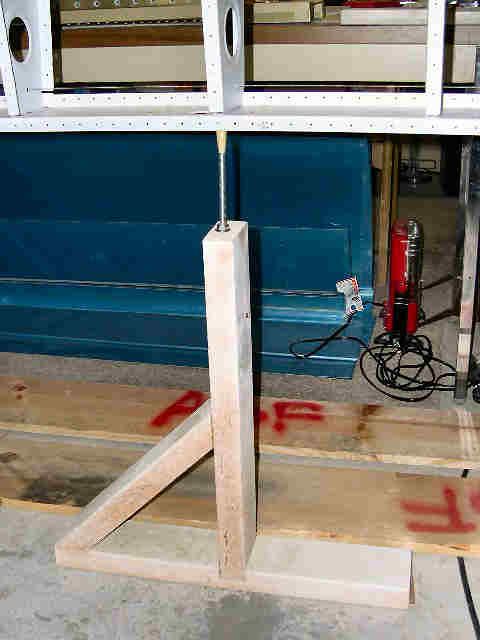 | Here is the screw jack to raise the center of the rear spar. The stand was from another project. It just looks like I built it for the wing stand. |
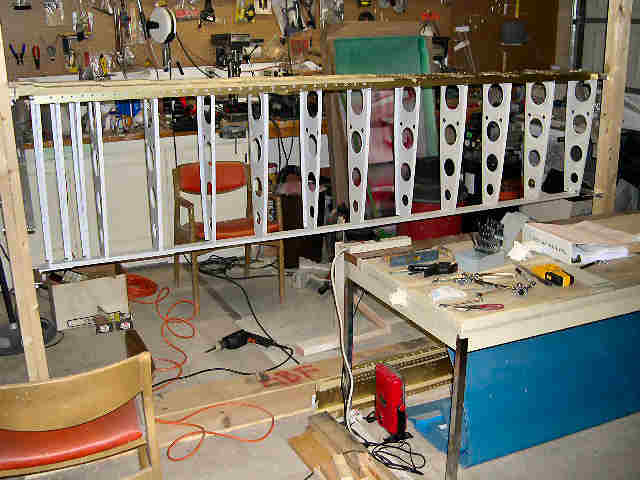
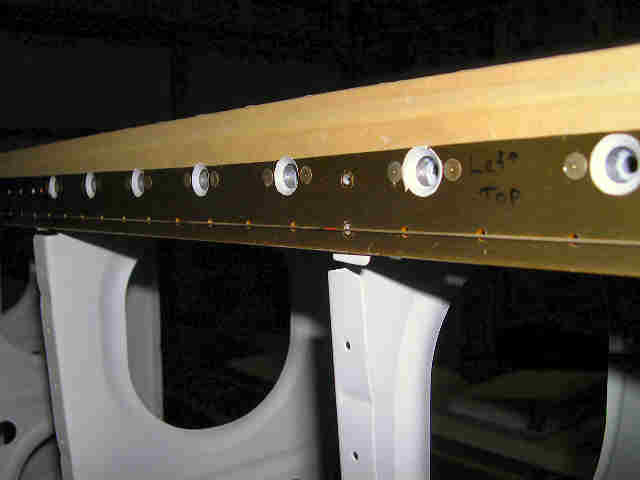 | When I went to write down my hours worked on the plans, I noticed that the instructions said to run a fishing line across the rivet holes on the main spar, so I tried this. Guess what, this is a lot more accurate and a heck of a lot easier than using the tooling holes in the ribs. I was off slightly, and re-adjusted the jack. Again, just like the countersunk holes in the main spars, follow Van's instructions unless they are clearly wrong. The guy has been building airplanes for over 30 years, and he knows what he is doing. |
 | Ok, now it is all done. |