


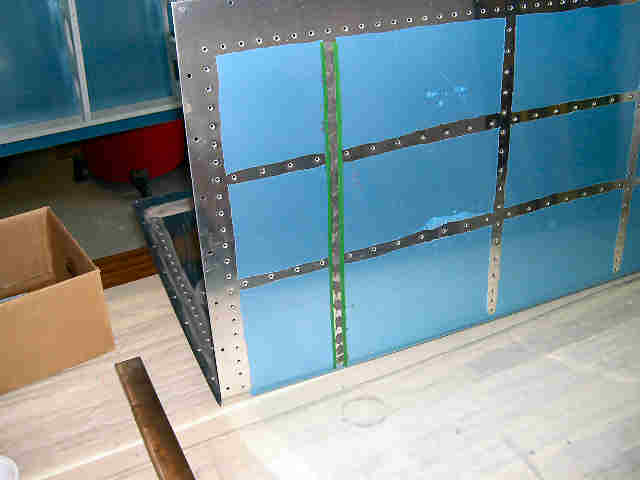
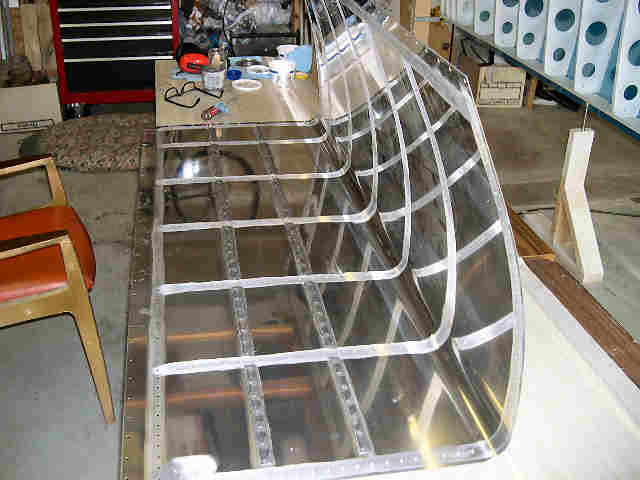
Wing - Left Fuel Tank
I did the first ProSeal sequence today--stiffeners, fuel flange, and tank drain. It went pretty good, except for some bad rivets (which ones, I'll never tell, I just covered them with ProSeal).
 | All ready to start ProSealing. We've got the MEK, all the parts are cleaned, the rivets are ready to clean--let's begin. Notice the box with blue stuff inside. I cut up paper towels into squares, about 2"x2". This was from Andy Karmy's site, and is very good advice. Two paper towels were not quite enough for today's work. Just cut a bunch, you can't have too much. I have MEK in the small bottle that I keep open so I can dip the squares in and wipe things down. MEK really cuts the uncured ProSeal. It still removes ProSeal after it's cured, but it takes a bit more rubbing. |
 | Pry the top of the can off, and there's this piece of paper on top that holds about $2 worth of ProSeal when you pull it out. No way, I'm going to toss $2, so scrape that back into the can. This stuff is going to be a mess. The best way that I can describe it is it's like soft bubble gum. Imagine a pound of bubble gum that has been heated, not quite to the point where it is fluid. BTW, I have worked with this stuff before. When I worked on Nukes in the Air Force, we used this stuff to seal up the rear bulkhead on all of our weapons. I don't think it was called ProSeal--it was something like "Morton-Thiekol Potting Compound 157," but it was the same stuff. You never forget that smell, even after 28 years. Not as bad as everyone says. |
 | I'm using a digital postage scale, that reads down to a tenth of an oz. First step is to zero the scale with the cup on it, before adding the gunk. Obviously, I have wrapped the scale with Saran Wrap to protect it. |
 | Then I added a chunk of ProSeal about the size of a golf ball (no, not 4-5 golf balls), that just happened to be 2.1 oz. This means I need .2 oz of the black stuff to get the 10:1 ratio. Pretty eazy with the digital scale ($40 at Office Depot, I already had it, since I am Postmaster of my own post office). Then you mix that up until all of the white stuff goes away, and you have a nice gray mixture. |
 | Working on the stiffeners first, I put a little dab of PS on each hole, then I inserted a rivet in each hole, and then I covered the row with rivet tape. Yes, I know that I just put rivets in all of the holes for the second rib, which I had to remove and clean out. Don't worry, MEK really cuts this stuff, it's fine. Anyway, I thought the instructions said to dip the rivets in ProSeal (they don't), so I put some PS in the top of a plastic lid and dropped a few rivets on top. Don't do this. The rivets stick to the PS, and it is a mess getting them out. Just put the PS in the holes and then put the rivets in the holes. BTW, don't try to use needlenose pliers or tweezers to pickup the rivets (they don't work). Just use your gloved fingers. The glove will get PS on it, and actually pickup the rivets automagically--works great. Wipe gloved finger with MEK dipped patches before riveting. |
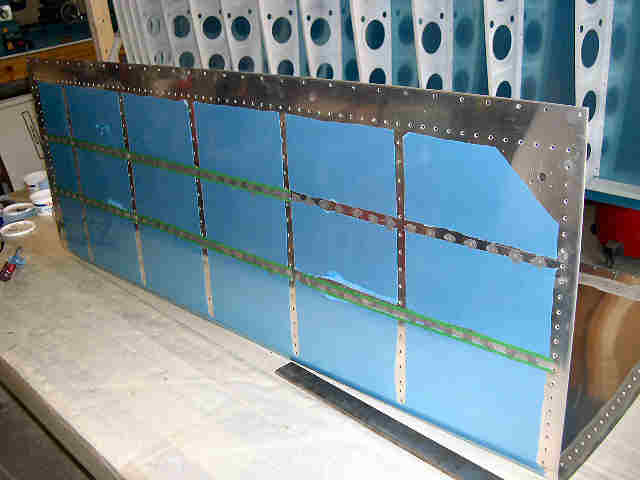 | All of the stiffeners riveted and the first piece of tape removed. BTW, don't be cheap and try to remove the tape as you go and reuse it. The tape is just not that expensive. Yeah, you, you know who you are. |
 | Picture of the inside that is not very useful other than to document that I actually did rivet the stiffeners in the tank. BTW, there are several rivets in the stiffeners that probably should have been drilled out, but I just covered them with PS. Don't worry, these stiffeners aren't going anywhere. |
 | Here's a close-up of one stiffener with PS over each rivet. I wanted to try and be neat, but it's not possible. It's just a good thing that we don't put this on the outside of the airplane where people can see it. This stuff is so sticky, there is no way that there are going to be any leaks here. |
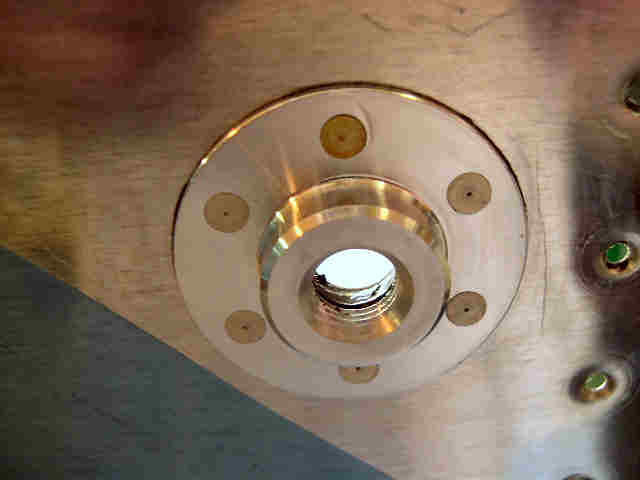
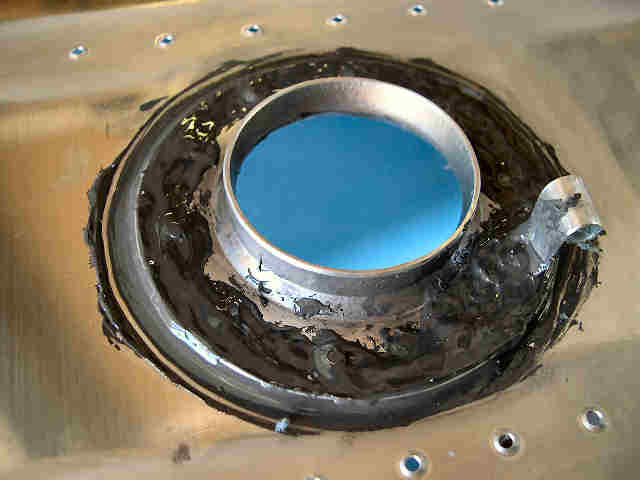 | Next, I went on to the fuel flange. I had quite a bit of problems with the rivets here. The callout is for AN426AD3-5 rivets, but they are too long, as were -4.5's. I bent several rivets, which will have to be replaced. Also, I could not buck the rivet where the T-714 clip is installed. I had to drill that rivet out and move the T-714 to the next rivet closer to the edge of the tank, so I could squeeze it. The clip still sticks out far enough for the fuel vent line to go into. As you can see, I put plenty of PS around the inside of the fuel flange. |
 | Here's the outside after cleanup. Notice that there are two rivets that are definitely not sitting right (the one on the bottom, and one on the left). They will have to be replaced . Also, you can see the other rivets are sitting down in the dimples a little. This is due to the tank dimples. The rivets on the stiffeners on the bottom of the tank that I did not redimple with the tank dimples are sitting up just a little. Probably ok for the bottom of the tank, but definitely not good if they were on top. With the stiffeners installed on the bottom of the tank, it will be hard to redimple the bottom rib holes. I will probably try Van's suggestion to run a countersink in the dimpled holes. |
 | The tank drain came out nice. |
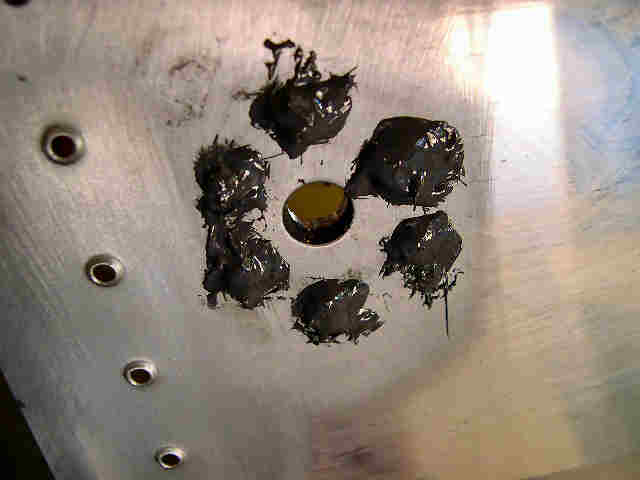 | After riveting, I put a ring of ProSeal all around the rivets. Then I decided that was not a good idea, since the drain has to let the water get to it. So, I wiped off all of the PS, and only put a dab on each rivet. This allows the water to get to the drain between the rivets, unimpeded by ProSeal. |
 | All done with the stiffeners, fuel flange, and tank drain. |
 | It looks like 2.3 oz was exactly the right amount of PS for this job. I don't know why Van's instructions say 4-5 golf balls. That's probably enough to do the whole tank, except for the rear baffle. Does he really expect you to do the whole tank in one day. After 3 1/2 hours, I am pretty tired. BTW, Van says the working time is 60-90 minutes. After one hour, I could feel the stuff stiffen a little, but I worked for at least another hour and a half without it really setting up. Today's temp in Austin was probably 80° F, with 95% humidity. |