


Wing - Left Fuel Tank
I did the leak test using Van's "Fuel Tank Test Kit." The kit includes a cap to seal the fuel pick-up fitting, and an air valve that screws into the fuel drain. In addition, you need to get a clear plastic hose to use as a manometer, or you can attach a balloon to the fuel vent. I looked at other builder's websites, and it looks like just about everyone is going with the clear plastic hose manometer setup.
After attaching the air valve, the fuel pick-up cap, and the hose to the fuel vent, I put colored water in the plastic hose. No matter what I did, I could not get any pressure in the tank. I expected to be able to put water in the hose, and eventually get to the point where the tank side would start to hold steady and the open side would start to rise as more water was added. This never happened, both columns simply stayed the same height.
Next, I tried to pressurize the tank using a bike pump attached to the air valve. Again, the two water columns still stayed the same height. I thought, either there must be something wrong with the air valve, or I had a really bad leak. I started spraying soapy water all over the tank, trying to find the leak, but I didn't see any bubbles (of course not, there's no pressure in the tank, dufus). After further investigation, I finally noticed the hole in the outboard rib at the other end of the tank. Some idiot forgot to seal the tooling hole in the outboard end rib (see picture two days ago).
I put tape over the hole as a temporary fix, and finally got the tank to pressurize. After about 30 minutes, the column of water had dropped about two inches--I still had a leak! I used Mr. Bubbles to locate a leak in my manometer setup, which was fixed by tightening the hose clamp, then I found the real leak where the inboard rib attaches to the rear baffle. This really depressed me. With the amount of ProSeal that I put in that tank, I had high expectations that I would not have a leak. I guess that's just part of the tank building experience, but I have heard of builders who did not have a leak--liars! Ok, maybe it does happen, what do I know?
Anyway, I needed to fix the leak. I put a pop rivet covered with goop in the end rib, and I covered the rivet with goop. Good thing I bought those big 3/16" pop-rivets last month. Next, I put some ProSeal on the Z-bracket and leaking seam at the other end of the tank. As an added measure, I put a small vacuum in the tank in an effort to suck some of the new goop back into the leaks. I'm sure this made the difference.
Interesting enough, I had looked at Doug and Linda's website before starting my tank, and they had a leak in exactly the same spot. I guess I just didn't pay close enough attention.
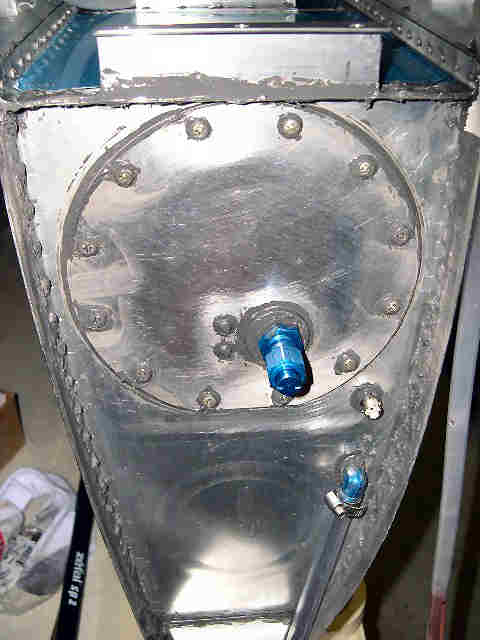 | I applied extra goop to the end rib seam and the Z-bracket in order to seal the leak. You can also see the leak test setup (hose attached to the fuel vent line and the cap on the fuel pick-up). |
 | Here's the patched rivet on the other end of the tank. |
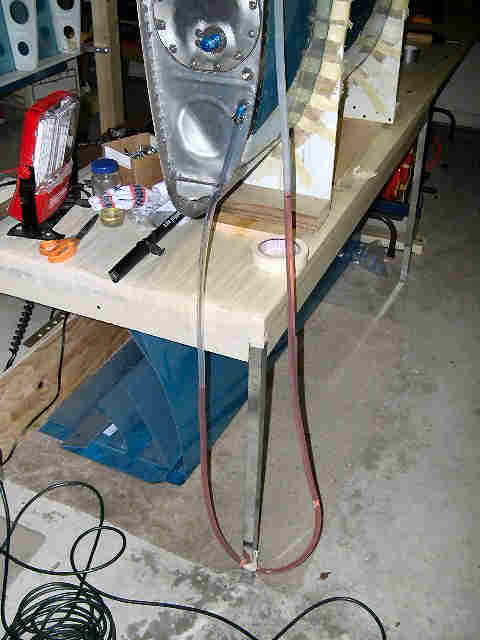 | Now we are holding pressure. The column of water vented to the outside air is 22" higher than the tank side. Three hours later, the column lost about 1" of height, but that was probably due to the temperature drop in the garage. The next morning, the column was down about two inches, but I was still convinced that this was due to temperature. We'll watch this for a few more days. One note here, according to Van's "Fuel Tank Pressure Testing" instructions, the max pressure in the tank is 1.61 psi (plus 50% safety is 2.4 psi). The instructions state that when the outside air column is 5 1/2" higher than the inside air column, you will have 2.4 psi in the tank. All of the science sites on the web say 1 psi of water is 27". I should ask Van about this. |