


Wing - Left Wing
Ok, here is where we get to rivet the leading edge to the spar. I looked at a lot of sites, and almost everyone glossed over this step, like it was no big deal. It seems as if everyone just happened to have someone drop by and help out here--I should be so lucky.
I don't know how anyone can do this with a rivet gun and a bucking bar, even with some extra help. My hands are not that big, but I could barely get my hand through the holes in the spar. It was not possible to hold a bucking bar steady against a rivet (I tried), not to mention that your rivet set will not fit without being ground down. I suppose that one person could reach in from the end through the holes in the rib, while someone else drove the rivet gun. Of course, this assumes that you have friends.
So, what did I do? Well, I wussed-out and used LP4-3 pop rivets. I remember that Dan C. called Van's and they said to go ahead and use pop rivets, but his site was down when I needed to do this, so I didn't know which rivet to use. I noticed on Jim and Carolina's website that he used LP4-3 blind rivets, so that was good enough for me.
Pop rivets worked well here, but I still had to grind down my pop rivet gun some more to get it to fit. There's not even 1/4" between the rivet and the next rib. There's even less room than you had for the Z-brackets on the tank. So, if that was tight, then you get to grind down your pop rivet gun some more.
 | This is a blurry picture of how close the rivet is to the next rib. I ground off so much on the end of the rivet gun that the end piece that holds the tool together fell out. It's being held in with masking tape. |
 | Pop rivets look just fine. |
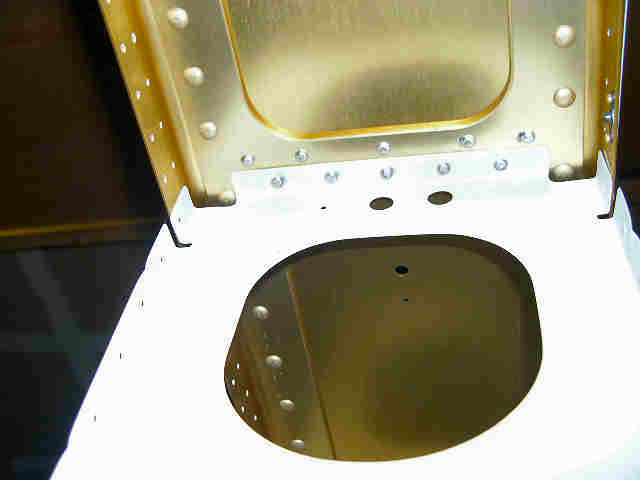 | You can reach the inboard rib with a bucking bar, and the rivets are not right up against the next rib, so these can be bucked. |
 | Here's how you have to check the shop head. |