


Wing - Right Fuel Tank
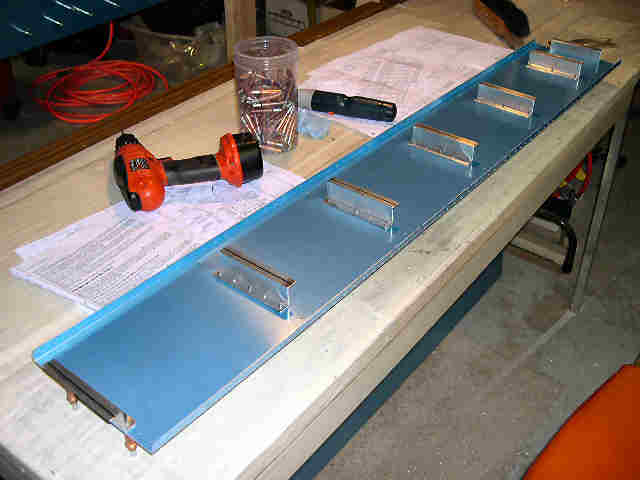
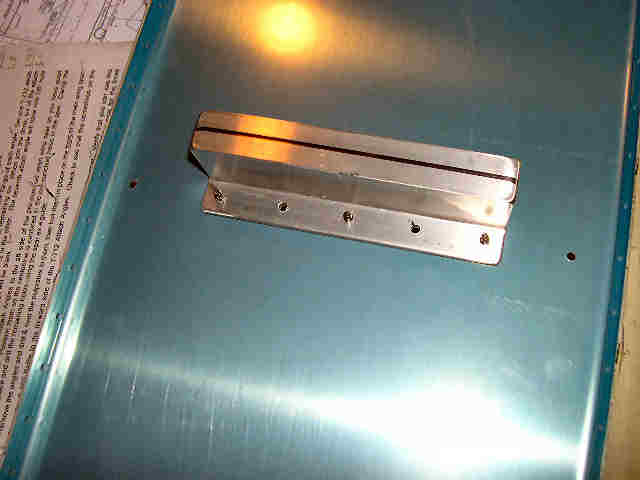
I began preparing the right fuel tank for prosealing. First step was to deburr and drill the first hole in the Z-brackets. Actually, the instructions said to drill two holes, but I read them wrong and just drilled the center hole for the baffle. Then I attached the Z-brackets to the rear baffle, and drilled all of the baffle holes. Next, I cleco'ed the Z-brackets to the baffle, cleco'd the baffle to the tank skins, and cleco'ed the whole assembly to the main spar. Then I marked the spar attach holes for the Z-brackets through the rear of the spar. This is not per the instructions, which I read wrong, but everything worked out just fine. There is a little gap between the tank skin and the LE skin, but I'm pretty sure I can pull this in when I drill the tank skin to W-423.
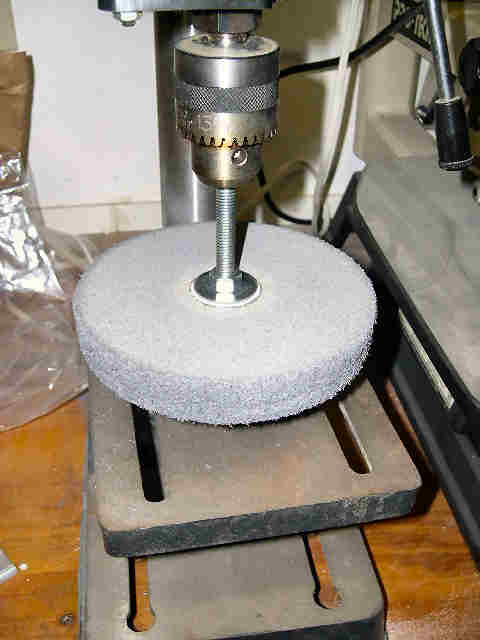 | Originally, I attached my 3M wheel to my grinder, per the instructions. I only used the 3M wheel a few times before it tried to kill me, so I stopped using it. I tried to use it a few other times, and it still tried to rip the parts out of my hands and kill me. Anyway, I decided to attach the wheel to my drill press and use it there, since the drill press is open, and turns pretty slowly. This works great. I use the thing all the time now. |
 | Use the rear baffle as a template to drill the Z-brackets. |
 | Up close. |
 | Tank skin and baffle cleco'ed to the spar. Mark the Z-bracket holes through the back of the spar. |
 | There is a gap between the tank skin and the leading edge skin. This will take a little work to pull-up. |