


Wing - Right Wing
Continued doing preparation for assembling the wing skins and the leading edge. I did the nutplates on the W423 splice plate, deburred all of the wing skins, including the bottoms, and used the soldering iron to remove the plastic along the rivet lines.
A fellow builder asked me why I still keep the plastic on, since I am going to get scratches in the skins when I sand them for painting. I actually believe that the plastic will help prevent a deep scratch, and I just feel that it offers a small level of protection. Plus, I just like to do this, even though it is very time consuming. It may be a big waste of time, since some builders have reported corrosion under the plastic (hard to believe), and, supposedly, it is hard to remove the plastic after a month. However, I have had the wings for almost a year, and I had to remove the plastic on the inside of the leading edge skins. It did not seem any harder than on the empennage, which was a four month project. Then, again, I could be wrong.
 | Touched-up the countersunk holes on the rear spar. |
 | You know what this means. I've been busy with the soldering iron. |
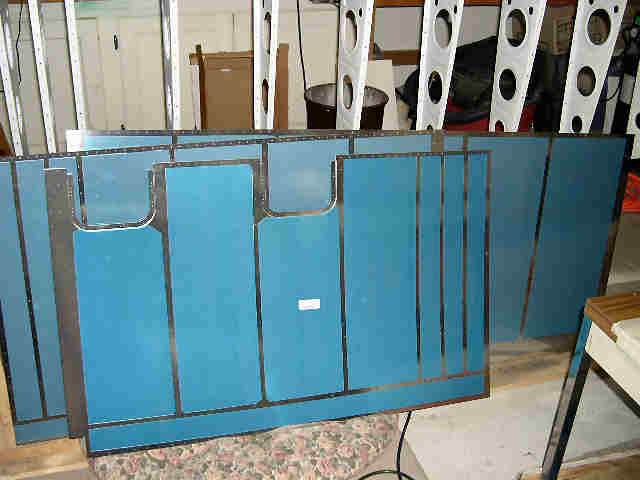 | Skins all deburred and plastic removed along rivet lines. |
 | Another nutplate assembly line. |
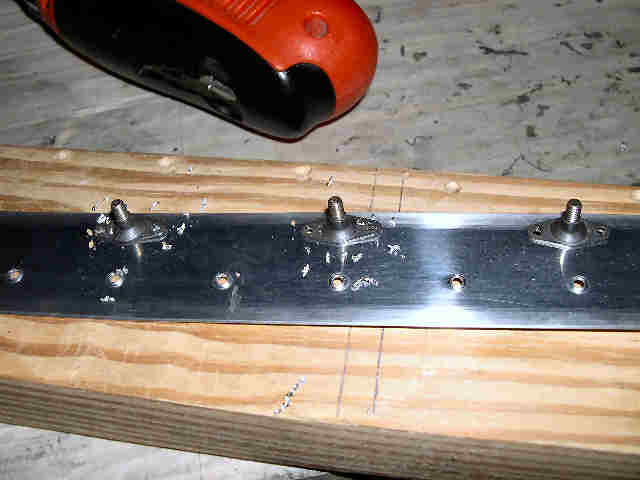 | Drill em. |
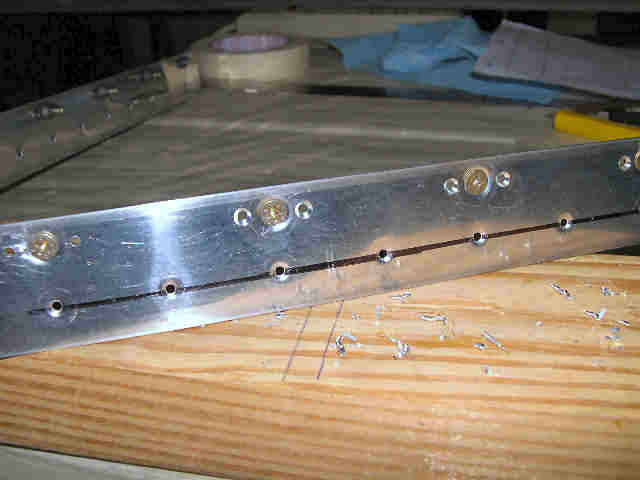 | Countersink the splice plate. |
 | Rivet em, and you are done. |
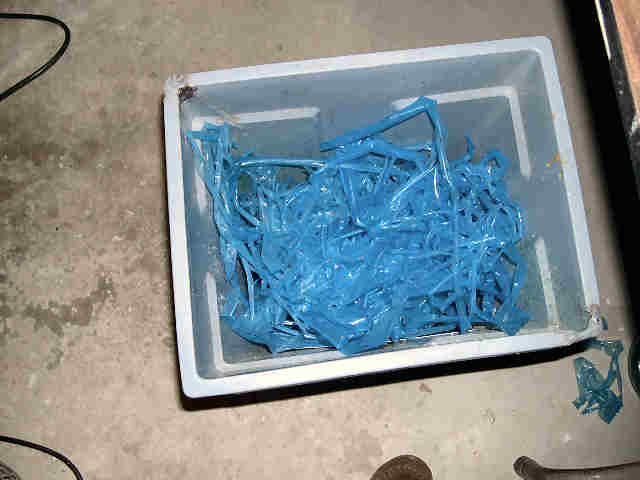
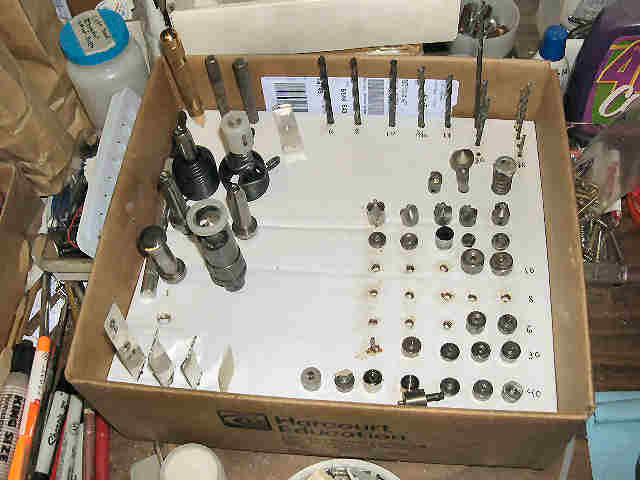 | I made a bigger box to hold my drilling/dimpling/countersinking/riveting tools. If I told you how much time I spent on this, you would laugh. But it doesn't count, because I was watching TV. Funny how all these tools are nicely stored, when everything around the box looks like a mess. |