


Fuselage - Bulkheads
After I thought I was done with the center section, I went back over the instructions to see where the F-704C/D forward and aft sides get riveted on. The instructions never really say to rivet them to the bulkheads, so I didn't at the time. I looked at a few other builder's websites, and they all riveted these parts together, so I went ahead and did this today. It looks like we are into the part of the instructions where you just have to use your head and figure things out on your own a little.
I will say, though, that I think it is better to leave these pieces off until the rest of the center section parts are fabbed and riveted on; otherwise, you have these long pieces sticking out, just getting in the way, and trying to get bent. So, I think this worked out for the better.
When the center section was done, I got started on the F-705 bulkhead.
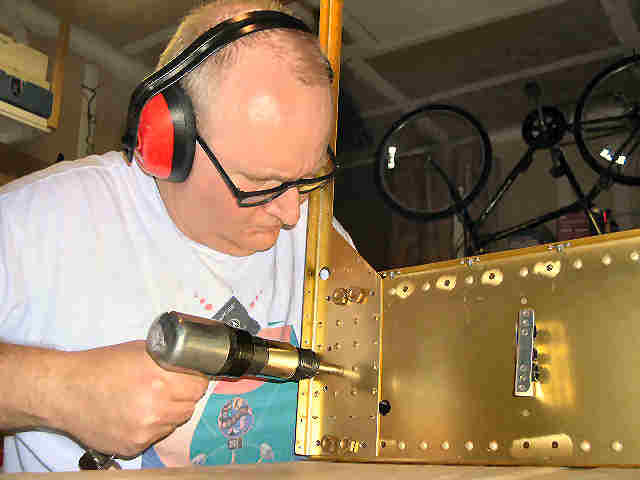 | Dufus, riveting the right center section forward side to the forward bulkhead. |
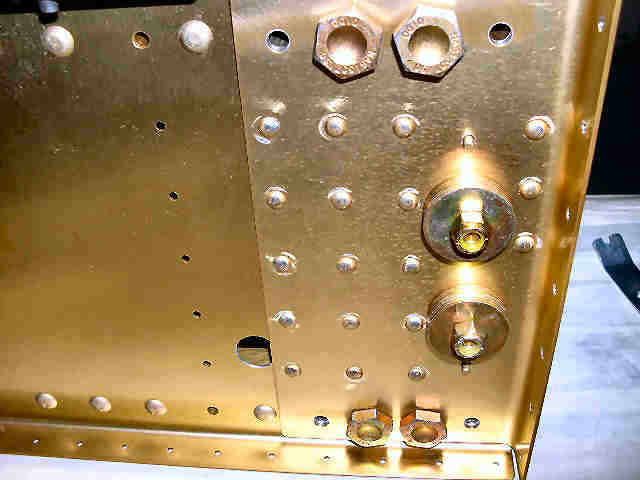
 | I cannot believe how hard it was to get these bolts in and back out after riveting. After all of the work I did a few weeks ago on these bolts and holes to get everything to install smoothly. |
 | Only one rivet screwed-up. I'll just leave it as it is, rather than risk messing up the hole, drilling it out. |
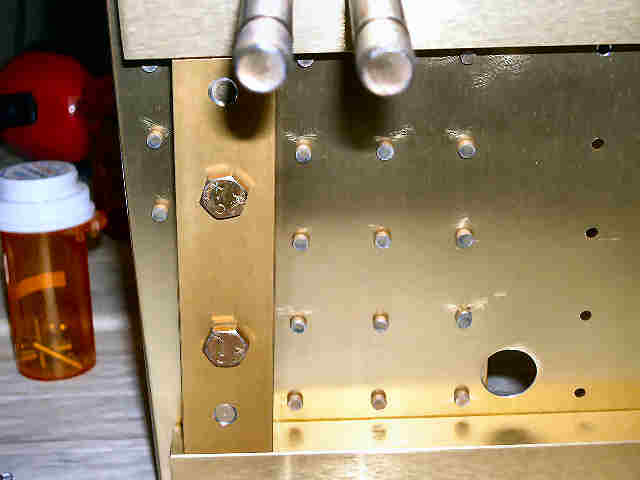
 | I used bolts and washers to hold the F-704-G bars to the rear bulkhead while I drove the rivets--flush side is on the other (fwd) side. |
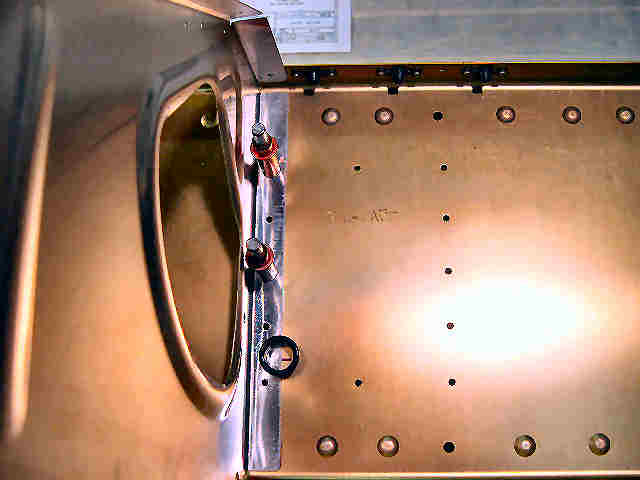
 | Looks like those holes were countersunk just a little too deep. Notice what looks like cracks around the other rivets. That's the anodizing, apparently showing stress. |
 | Rear bulkhead done. I had to pound those bolts out with the plastic hammer. |
 | Put everything back together with the wooden spacers. All done with the center section. |
 | Dang it, I forgot to drill the holes for the two center snap bushings. That's 1 17/32" up and 1/4" over. Why 17/32", is this that critical? I really think Van's draftspeople are a bunch of comedians. |
 | That hole looked to be a little close to the ribs that will go there later, so I got out one of the ribs and cleco'ed it on to make sure the snap bushing would fit. I looked at the drawing for the ribs, and it said to trim the rib to fit, so this is ok. |
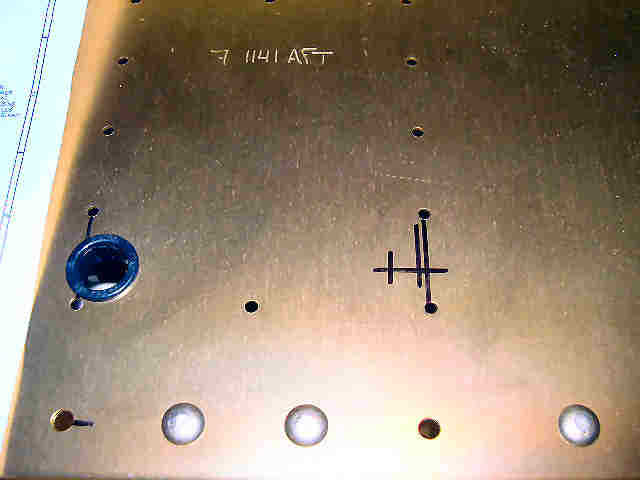 | After I drilled the first hole, I noticed that I measured 1/4" from the rib holes, not the large hole near the flange. This is about 1/16" difference, so I did the second hole correctly. Also, the plans call for an SB625-7, but I only had one left for two holes. There's a note that says to use SB625-8 snap bushings if you are going to use copius amounts of wire. I guess Van figures we are all going to use copious amounts of wire, because he sent 39 of those SB635-8 snap bushings. |
 | Finally, all done with the F-704 center section. And, no, I'm not going to bolt it all together once more, just to be sure. |
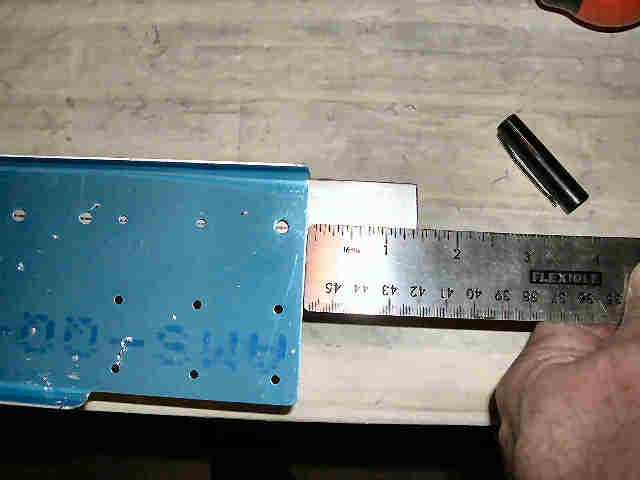
 | I bought a chop-saw at Harbour Frieght yesterday, so now I shouldn't have to use that hack saw anymore. This part, F-705B, is 45 3/32". I doubt if my tape measure is that accurate. |
 | Mark the center of F-705B, so you can see the line through F-705A. Then, make sure that both ends stick out by the same amount. |
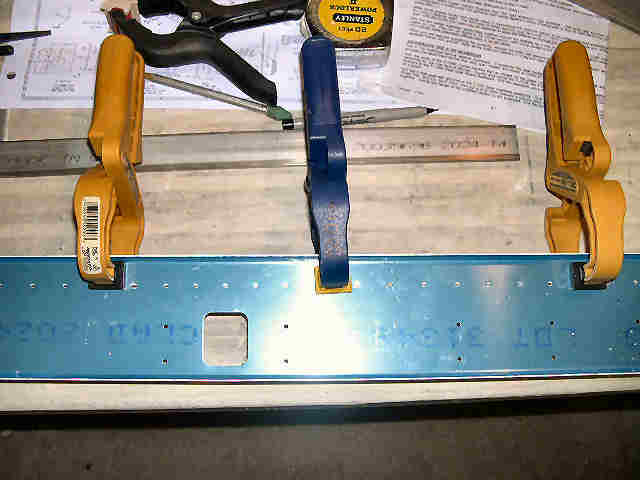 | Then, clamp it down, and drill the first two holes, so you can get two clecos in. |
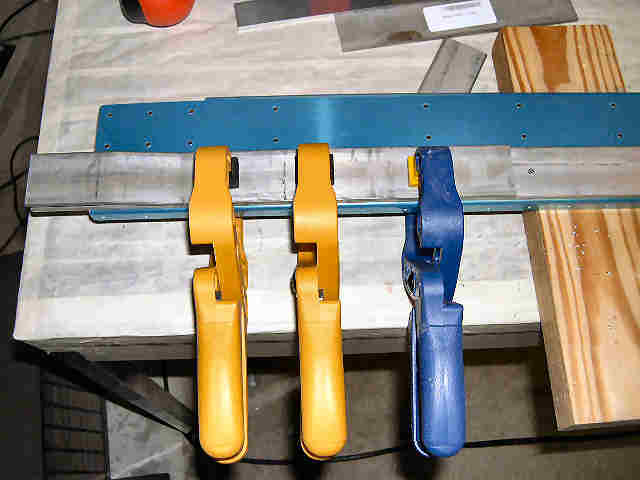 | Then, you can clamp an F-605C to the end and drill it. |
 | All drilled. |
 | I started an experiment with some textured Rustoleum today. One side has AFS primer, and the other is bare metal. I sprayed Rustoleum on both sides to see if the Rustoleum will stick to the AFS primer, and whether it will stay stuck to the bare metal. I taped the top edge on both sides before painting, so I can tell which is which. I should know in about a year which method will work, or not. |