


Firewall Forward - Engine
I bought a used 13B rotary engine on Ebay, for $200 (actually, one engine that supposedly ran, and one in pieces that had some damage). I nearly spent twice that on shipping to get it here to Austin from Alabama. I don't really expect this to be the engine that I put into my airplane. It's just something to work on, so I can get familiar with the rotary engine. If it turns out to be within usable specs after the tear-down, so much the better.
I'm not quite sure how long I spent on the engine tear down. I have been working on this just about every night, since I got the engine on President's day (today is actually March 3rd). Usually, I would go out to the garage, and just unbolt a few pieces when I got a chance. Most of this was just unbolting things and putting them into tubs. However, there are a few nuts that require a bit more effort to get off. This included the transmission (didn't see one of the bolts on the bottom), the "big nut on the back", the flywheel, and the front pulley.
When I got to one of those tough nuts, I either had to fabricate some sort of tool to hold the flywheel or the front pulley, or I had to buy or make a bigger hammer. A few nights, I would just go out and wack something with a hammer, hoping that it would let loose, even though I had tried the same thing the night before.
Anyway, here's the tear-down of my junk yard 13B rotary engine.
 | The engine and parts arrived. Apparently, you can just tie an engine to a pallet, and the trucking companies will ship it. |
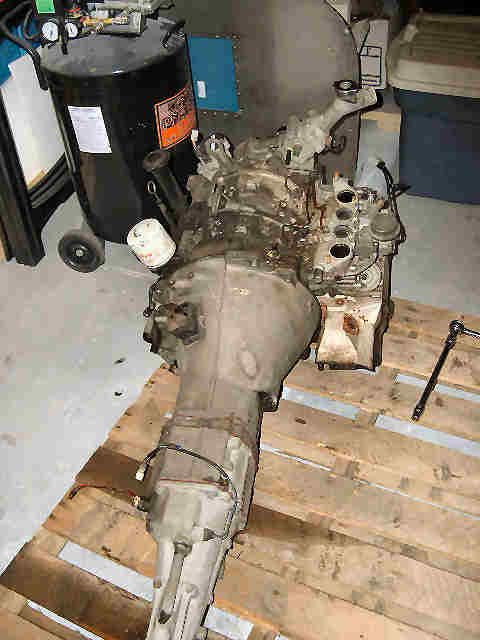
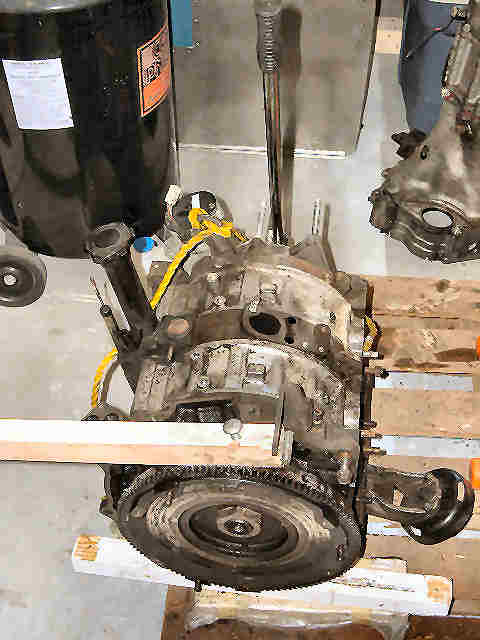
 | Engine and transmission on the pallet. |
 | Yep, it's a 13B, with fuel injection. |
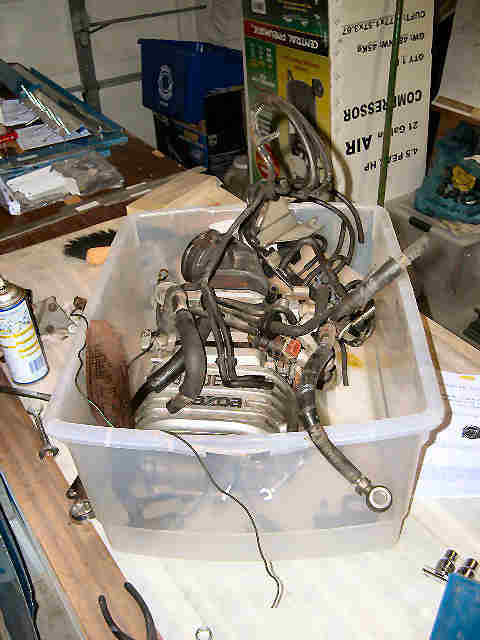
 | I, also, got two big tubs which contain a whole other engine in pieces. |
 | Most of the top part of the intake manifold removed. |
 | Put the parts into plastic tubs. |
 | The intake and exhaust manifolds are both off, and I managed to get one of the front pulleys off. I held the pulleys with nylon rope. The rachet is attached to the nut on the front pulley, which did not want to budge. |
 | I managed to pull the transmission, once I found that last bolt on the bottom. |
 | I bought an engine stand, but it doesn't fit. The rotary needs a special adapter. That's ok, I'm pretty sure that I will be able to use two engine stands to hold the fuselage, so it can be rotated. These engine stands are only $40 a piece at Harbour Frieght. |
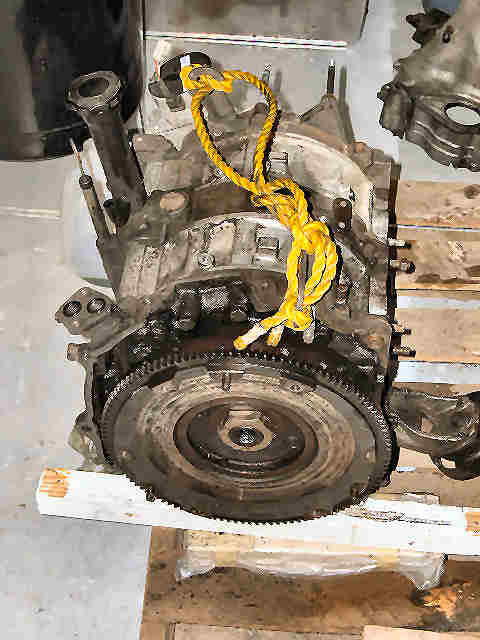 | I haven't built a hoist yet, so I am having to lift the engine by hand, using the nylon rope attached to the two lifting rings. It's only supposed to be 180 lbs, but it's still heavy. |
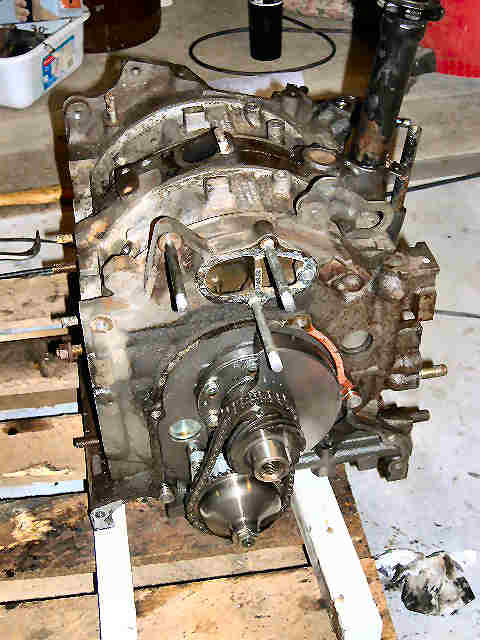
 | I couldn't get the front nut off, so I looked at the rear of the engine to see what I could use to keep the eccentric shaft from turning. Here's the famous "big nut on the back". |
 | I bought a 24" long half-inch breaker bar from HF (who else). I built this special "flywheel holding tool", and I managed to break the nut on the front loose with the breaker bar. |
 | In order to remove the "big nut on the back", I decided I would need a little better "flywheel holding tool". This is what I came up with. There are a few holes in the flywheel that match up with the two bolts sticking up, and the other two bolts go into the rear housing. |
 | You need a 2 1/8" socket for the big bolt on the back. Sears has a 2 1/8" socket in their catalog for $23, but after waiting on the phone for 10 minutes for the sales guy to see if they had them in stock, I gave up. Back to HF to get their set of 3/4" sockets, where 2" is the smallest. They didn't have a 3/4" breaker bar, so I had to get a 3/4" rachet ($13). It doesn't look so big ... |
 | ... until you place it next to a normal 1/2" rachet. That 18" rachet just could not budge the "big nut on the back", even when I used a 3 lb sledge hammer. |
 | I bolted two 2x4s to the 18" rachet, but the whole pallet lifted up when I tried to use it. I had to put the transmission and one of the tubs full of parts to hold the pallet down. Still would not budge. |
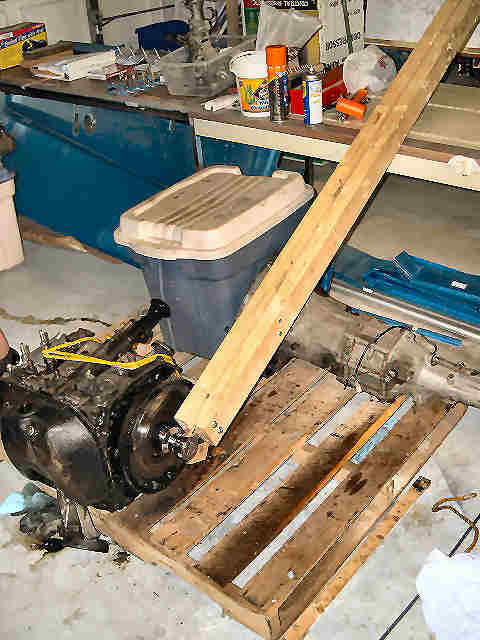 | Here's a better picture. The engine is tied to the pallet. This still did not work. |
 | The trick was to heat the nut first. A little heat did not work, but a lot did. The nut made a bit pop when it let loose. |
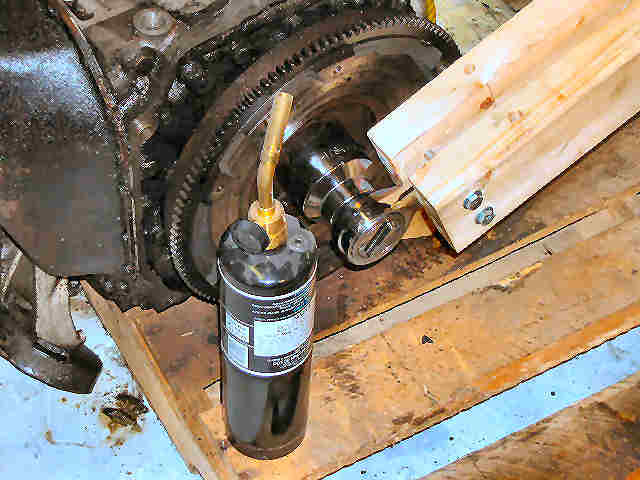
 | With the big nut on the back off, the next hurdle was to remove the flywheel. This is the second iteration of the home built gear puller. Notice, that there are two steel bars. The first iteration was one bar. Even with the double bar gear puller, I still had to wack the flywheel with a big ball peen hammer. |
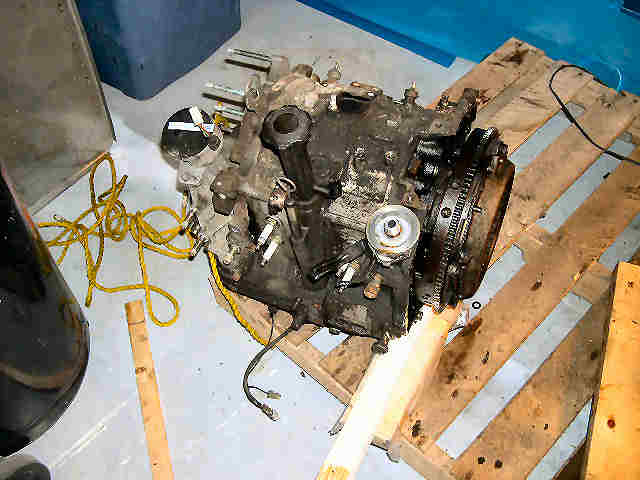
 | Once I got the flywheel off, I removed the oil pan. I was surprised to see how clean the inside was. |
 | With the oil pan off, the water pump came off without any problems. |
 | Once you straighten the washer on the oil pump and remove the nut, the whole gear and chain come right off without any problems. |
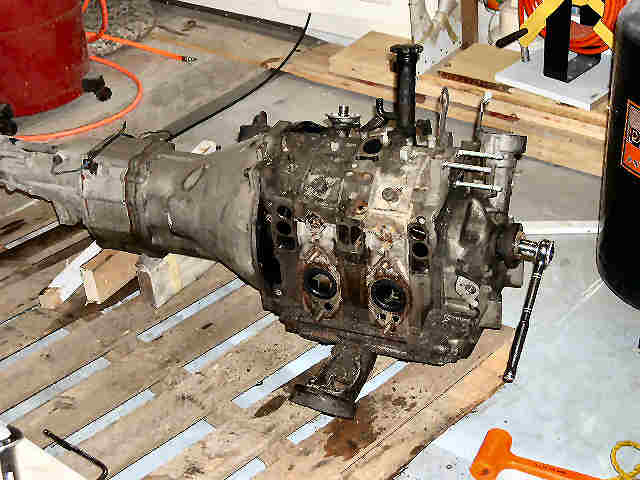
 | Next, we have the 18 bolts that hold the whole engine together. Here, the bolts are ready to be pulled out. |
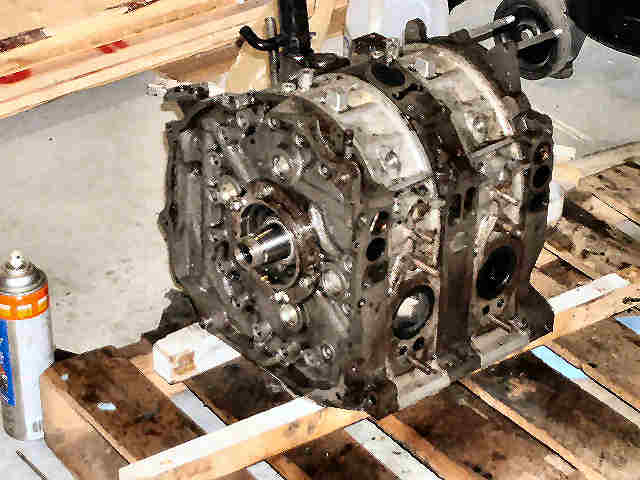 | This thing is ready to come apart. Just those 6 bolts on the back, and 6 more on the front. How hard can they be to get out? We'll see. |