


Fuselage - AFT Section
Finished riveting the AFT fuselage. All I had to do was to rivet the bottom skins to the side skins. I was able to reach the bottom rivets in F-710, and the first few rivets ahead of F-710. However, after that, it was almost impossible to reach any other rivets by myself. So, it was either wake my wife, or come up with another solution. I decided to try back-riveting the rest of the rivets. This did not go as well as I had hoped.
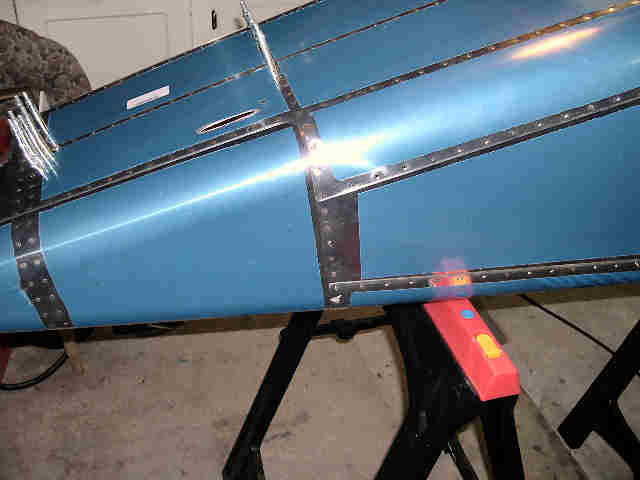
First thing was to tape my back-rivet plate to the top of one of my saw horses. No big deal, since I am using a small 1/4" x 2" x 18" plate to back-rivet. Not ideal for back-riveting, but good for this application. Then, I started doing one rivet at a time. By this, I mean I would lift the fuselage, insert a rivet, hold it from the other side while I positioned the fuselage on the saw horse, then drive the rivet. It wasn't long before I got smart, turned the fuselage on its side, inserted all of the rivets, and used masking tape to hold them in place. I still had to reposition the saw horse or every rivet, so this was pretty time consuming.
I pulled the tape back after the first few rivets, and everything looked good, so I finished riveting both sides. When I pulled the masking tape off, I found the worst riveting job that I have ever seen. There were 10 rivets that needed to be drilled out and replaced. Rivet heads were sticking up all over the place.
I finished off the rivets where the clecos were, drilled out the bad rivets, and pounded the new rivets. Of those 10 bad rivets, 3 had to be redone, again. Of those 3 repeat rivets, one had to be done, yet again. This time, I needed an OOPS rivet. Again, that went badly, so I did another OOPS rivet. This time, I looked closely at what was going wrong, and got it right. The fuselage needs to be rolled just a little when back-riveting the forward half of the AFT fuselage.
Anyway, I am done with the AFT fuselage, for now. It looks pretty good.
 | With the fuselage on it side, the rivets on the bottom of F-710 can be reached with no problem. |
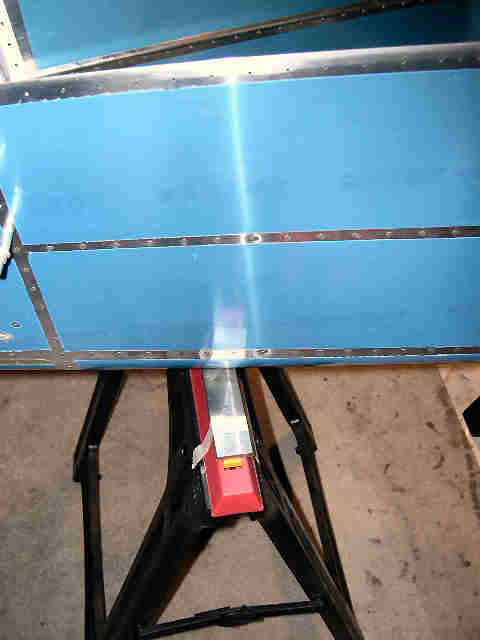 | There's the back-rivet plate, tapped to the saw horse. This narrow plate fits with a cleco on each side of the rivet to set. |
 | Pounding the rivets from the inside of the fuselage. |
 | After a half-dozen rivets, or so, I got wise and put in all of the remaing rivets and tapped them down. I used masking because of the clecos every two rivets. |
 | Ouch, not so good. |
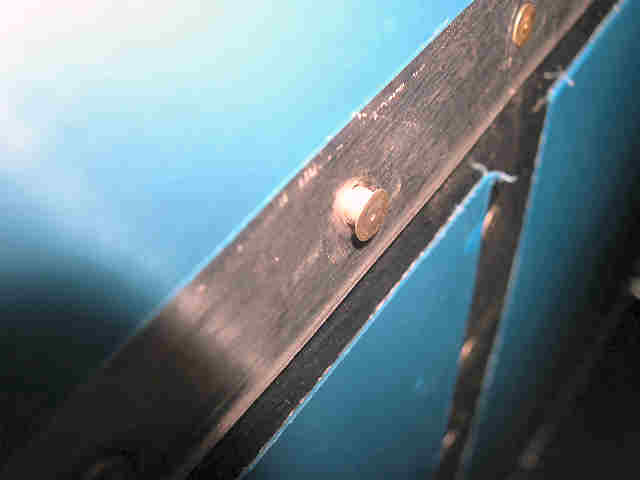
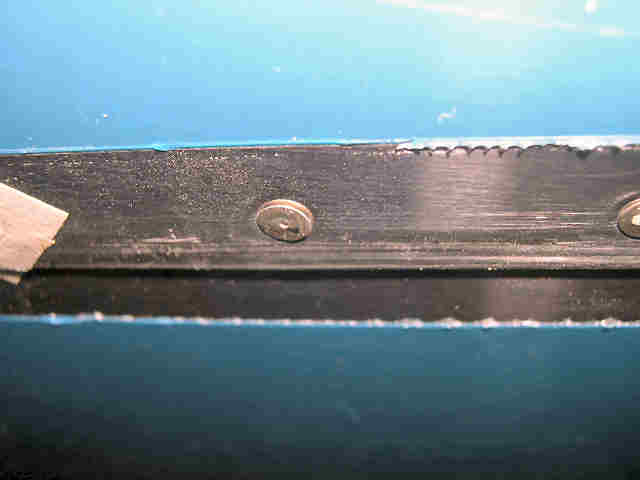 | Several rivets were sticking up, just a little, but still too much to be acceptable. |
 | This is just pathetic. |
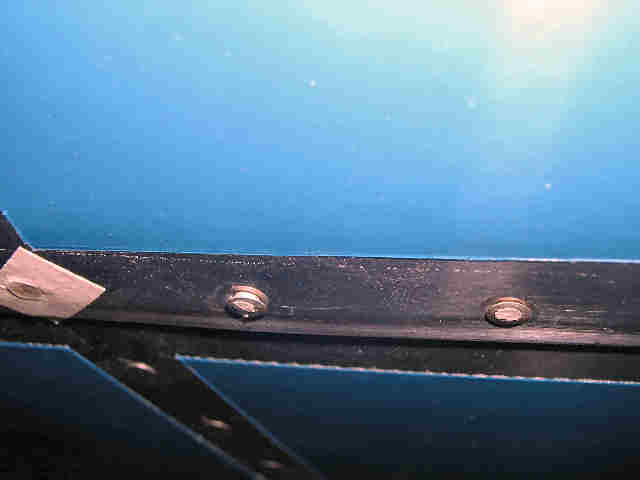
 | Every little square of masking tape is a rivet that has been drilled-out, and needs to be redone. |
 | Son-of-a... |
 | And then there was one. This one got done 4 times. Can you say oops! |
 | I decided to go ahead and rivet F-729 to the bottom of the fuselage. I do not want to do this later. |
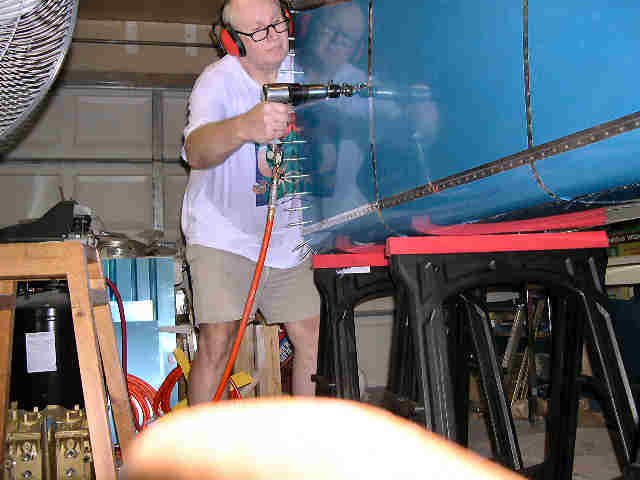 | These could be reached by hand. No more back-riveting. Can you tell that it's hot here in Austin, today? |
 | Finished. |