


Fuselage - Forward Section
Again, no riveting today. Last week, we made sure that the main gear weldments fit. I figured I had better make sure that they fit with the F-772 bottom skin, as well. It's a good thing, because I found five more holes that needed to be drilled in both weldments, before we rivet the side skins. Also, I needed to drill and dimple F-772 where the weldment braces attach to the side skins.
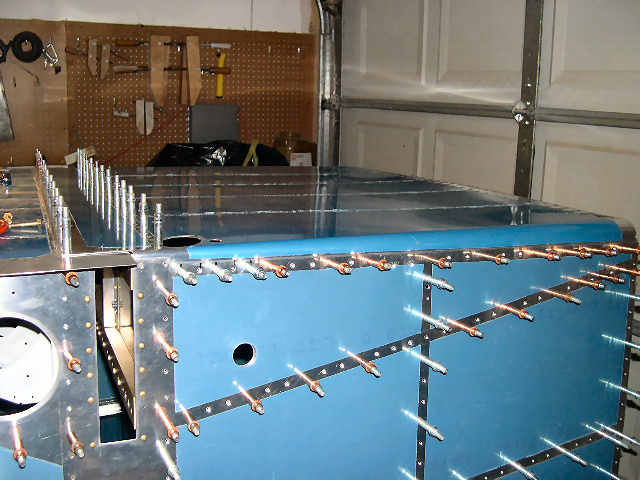 | F-772 bottom skin cleco'd back on, ready to fit the main gear weldments. |
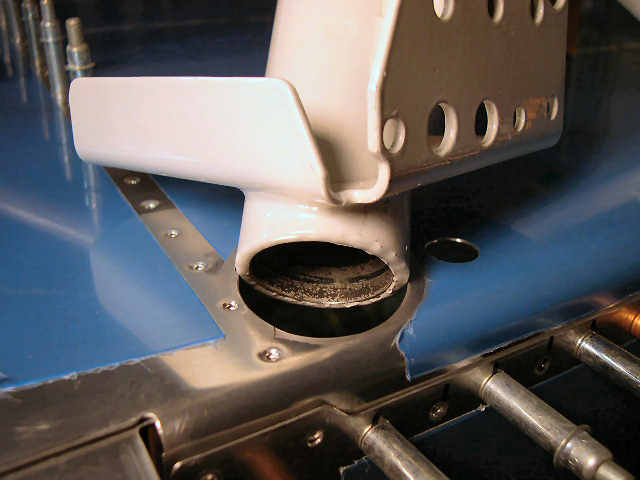 | First problem--the weldments are too big for the holes in F-772. Better fix that now. |
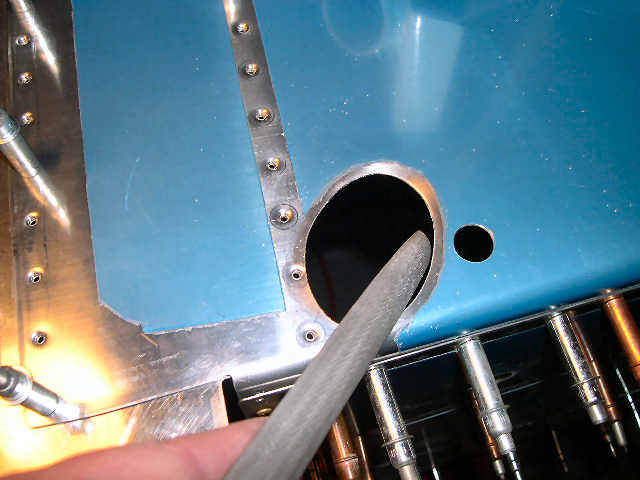 | Half-round file works good here. |
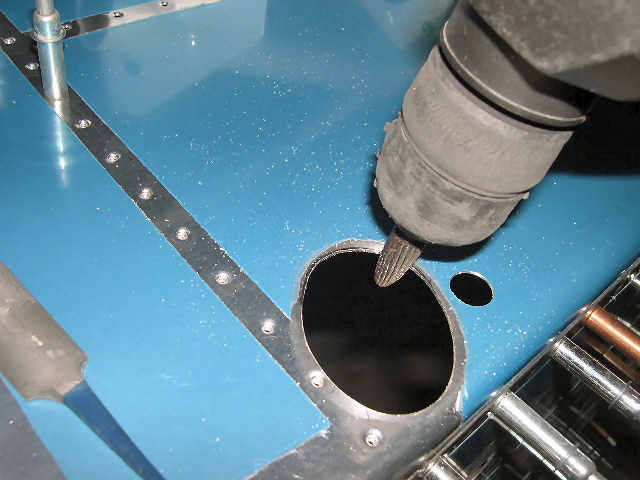 | Of course, if you need a little more metal removed, then it's time to call in the rotary cutter. |
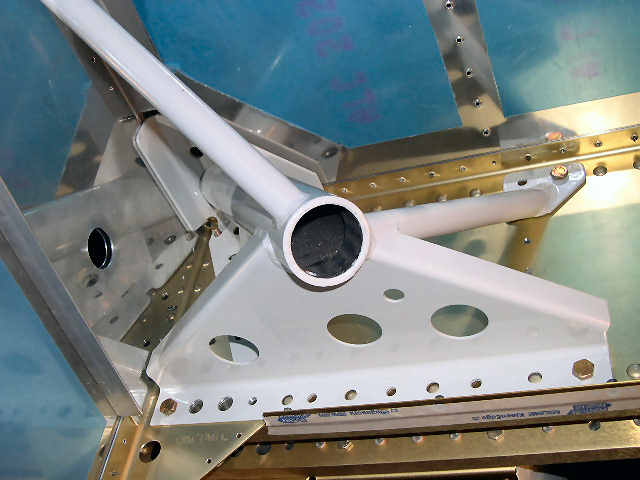
 | Two hours later, and the left gear weldment fits. I must have crawled under the fuselage about 20 times to get this to fit. I'm not happy with the brake line hole that does not line-up with the hole in the weldment. Van told us to drill these holes way back when we cut the hole for the weldment. This hole should be left undrilled until the weldment is fitted. Maybe I should go back and edit that entry. Thanks Van. |
 | Fits inside. |
 | As with last week, the right side fit without any trimming. I could get most of the bolts in, and the few that didn't slip in could probably be tapped in. I decided to remove just a little along the spots where the weldment touched F-772. |
 | The right side is done--less than 30 minutes. You may notice a slight gap along the side of the weldment. That will pull-in when the bolts are installed (I already checked earlier). |
 | Removed F-772 so I could debur the gear holes and dimple the gear attach holes that I missed last week. Also, so I can countersink the holes on the inside of F-7101 where we are going to double-flush rivet. Oops! I just looked at the plans, and those are not the holes that get double-flush riveted. The holes along the side actually get drilled to 3/16" for AN3 bolts. I need to drill through the weldment/F-7101/F-770 and the lower longeron. |
 | Four holes drilled to 1/8" and the fifth drilled to 3/16" with the bolt installed. Need to drill the other holes to 3/16" and do the other side. Notice on the left that I have installed a nut and bolt to pull the weldment up tight against F-704. |
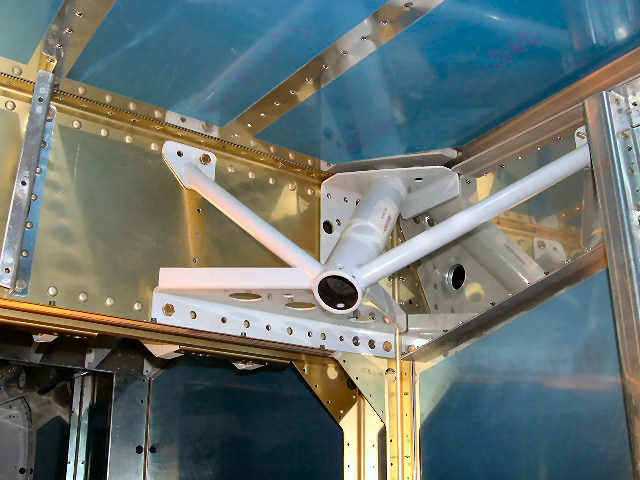
 | Ok, that's the way it's supposed to look (this is the right side). |
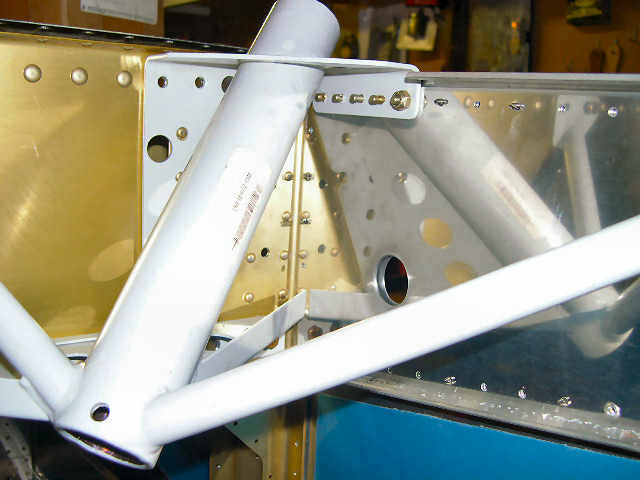
 | Cleco'd F-772 back on, so I can match drill those holes that I just drilled for the gear weldments. And, as to the question whether you can attach F-772 with both weldments in place? The answer is no, one of the weldments has to come off, as you can see in the picture. Oh, sure, you could probably force F-772 over both weldments, but then F-772 would probably be pretty beat up. Just remove one of the weldments, again. |
 | Remove F-772 one more time, so we can, you guessed it, debur the holes that we just drilled. While I'm at it, I removed F-902/F-7101 to debur F-7101 and vacuum out all of the filings and drill chips. Looks like no riveting today. |
 | You cannot get to the inner side of the holes on the weldment, so how do you debur them--this worked. |