


Fuselage - Top
Yesterday was a bit of a waste, but at least I got started. Today, things went a lot better, and I actually completed the next step in the manual. As the title says, I finished riveting F-714 to the AFT fuselage. Of course, it really does not take 4 hours to do this, so where did all the time go? Well, I spent guite a bit of time reading ahead in the manual and looking at the plans to figure out if I needed to do anything with the F-710C and F-711E spacers, and the F-710B/F-711 angles. Once F-714 is riveted on, it looks like it might be hard to fit the spacers and the angles. Of course, Van doesn't say anything about these parts here. Looking way ahead to the end of the chapter, where you attach the empennage, it sounds as if the spacers are already in place. So, it makes sense to fabricate and drill these parts now. Again, need I say it, the manual leaves much to be desired.
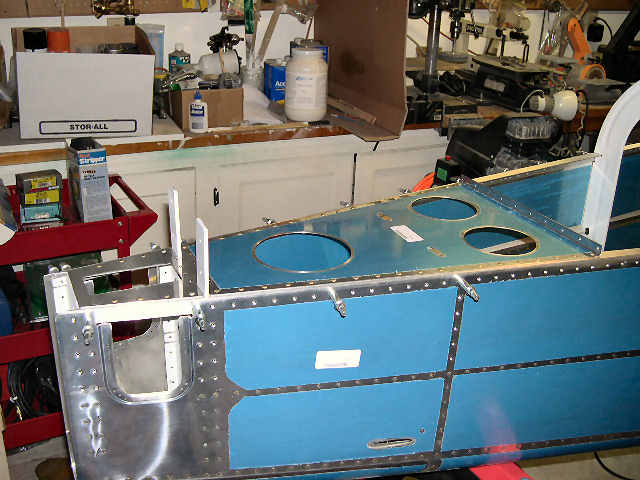
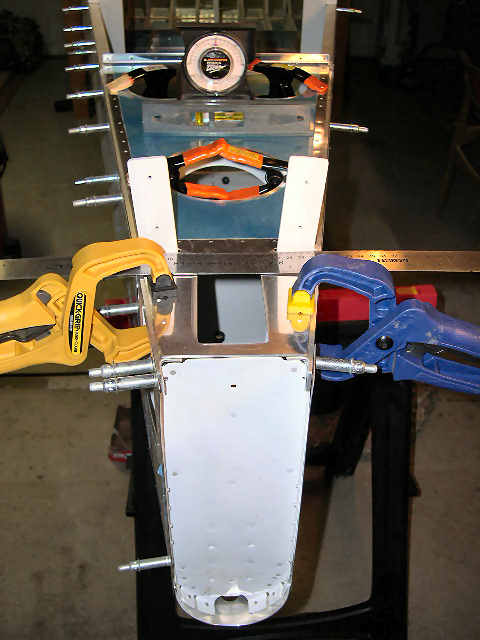 | F-714 is clamped in place and the fuselage is level enough--ready to drill. |
 | After drilling F-714 to the longerons and deburring, you are supposed to rivet F-714 to the fuselage. However, it is clear that there is a little more work to do here. It looks like we need the F-710 and F-711 angles and what about the F-710C and F-711E spacers? So, I spent a lot of time reading the plans and manual before proceeding. |
 | I decided to to fab the F-711E spacer first. It is made out of the AS3 125x1 1/2x5 1/16 piece that is unmarked and covered with clear plastic. This piece goes between the F-711 angles and the bottom of F-714. |
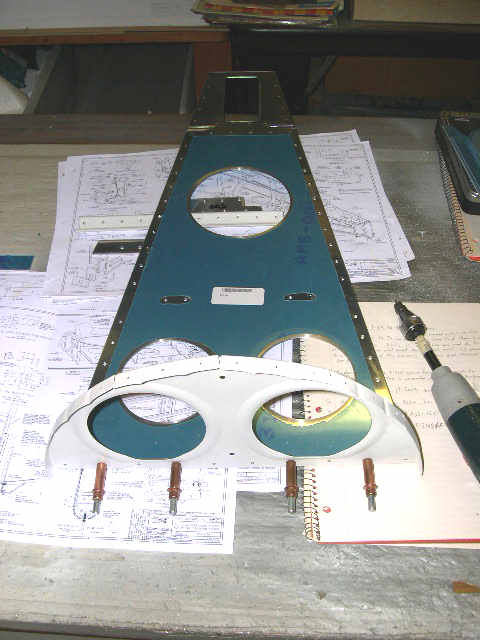
 | When you are done, it looks something like this ... |
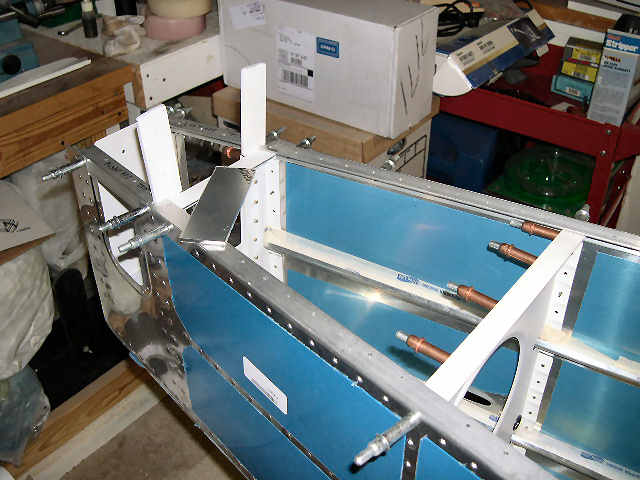
 | ... and it goes here. |
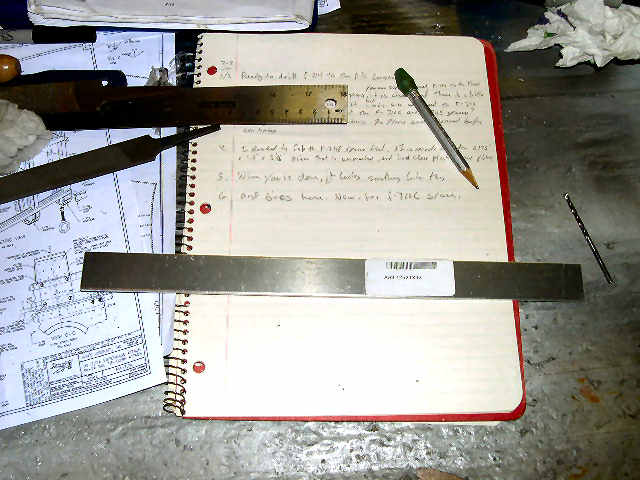 | Next, we have the F-710C spacer. Looks like this piece of AS3-125x1x13 should do. |
 | F-714 all drilled, including the F-710B/F-711 angles and the F-710C/F-711E spacers. |
 | Before riveting F-714 to the AFT fuselage, I went ahead and match-drilled F-709 to F-714. |
 | Finally, something completed. F-714 is riveted to the fuselage. |