


Fuselage - Cabin
Finished-up the right side baggage floor access cover.
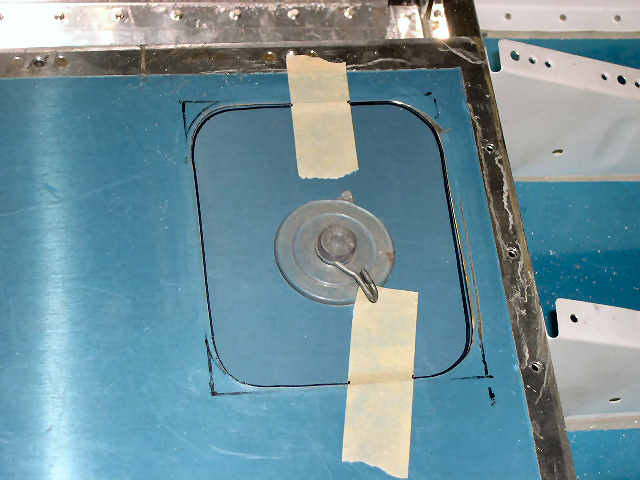 | Marking the outline of the access cover plate. The round thing in the middle is a suction cup used to attach Christmas lights to a window. |
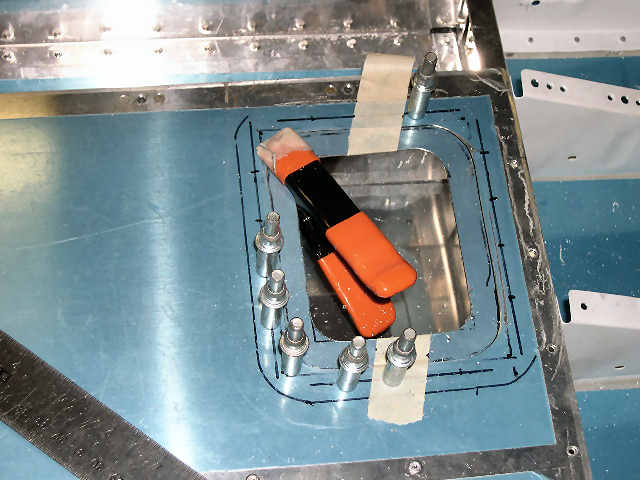
 | Mark the hole for the rivets that hold the nutplate ring to the baggage floor. |
 | Drill the holes. |
 | All drilled. |
 | Sneaking-up on on the final outline of the access cover. I love this disc sander (I think it was $29 on sale last year at HF). |
 | Top cover fits. It may be hard to notice, but the inboard side is 3mm wider than the outboard side--oh well, can't fix that now. |
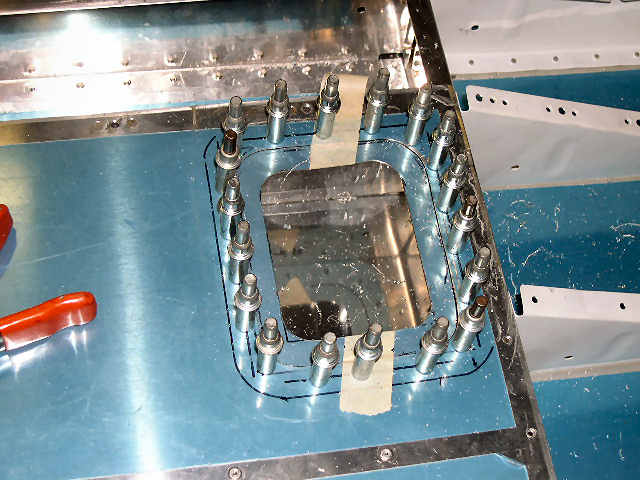
 | Holes drilled where the nutplates go. Now we need to install the nutplates and dimple the holes around the outside. |
 | Nutplate ring dimpled and nutplates installed. Top piece is the access cover, piece on the right is scrap from the baggage floor. I can use that piece for my instrument panel label tests. Note, it is possible to use K1000-08 nutplates on a dimpled hole with AN509-8R8 countersunk screws. I'm not suggesting that you do this, but it does seem to work, ok. |
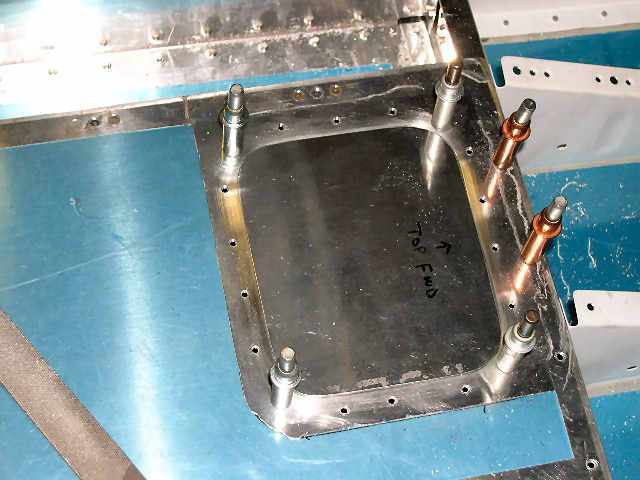
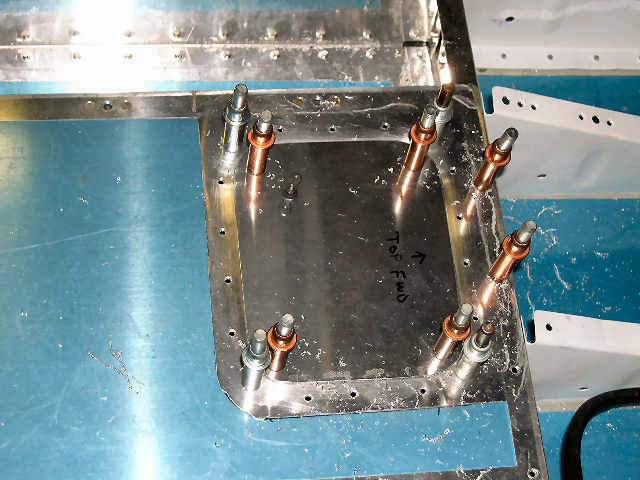
 | Nutplate ring installed. |
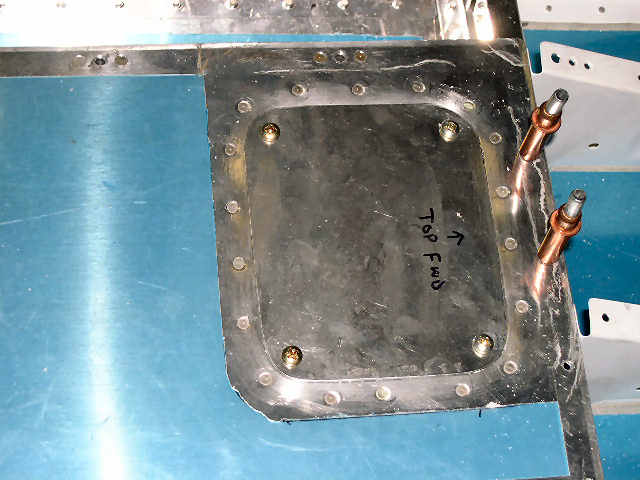 | Access cover installed with round head screws. So, am I done? Nope, I dimpled the nutplate ring for countersunk screws, I might as well finish it off. |
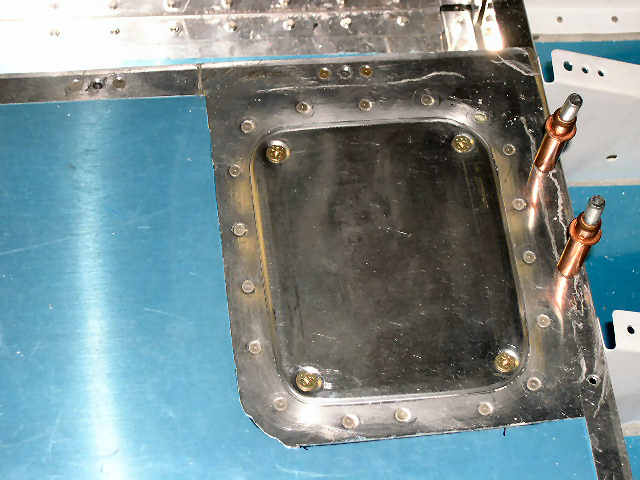 | Installed with AN509-8R8 countersunk screws. Note, the fit is not as bad as this picture looks. There is a slight gap, but what looks like a gap in the picture is a reflection along the edge of the access cover. Not perfect, but good enough. Now, to do the other side, tomorrow. |