


Fuselage - Cabin
Riveted the hindges to the AFT seat floors and the floors to the seat ribs. Managed to screw-up one rivet on the hindges, and made a mess when I tried to fix it.
Before riveting the hindges to the seat floors, I had to finish installing the seat belt anchors. I hate those things.
 | Error So far, the access and placement of the seat belt anchors is the stupidest part of the whole aircraft. This is the front side. Nothing particularly wrong here, except that once the seat floors are riveted in place, it will be impossible to get a wrench on this. I guess there's no reason to ever remove the seat belt anchors, but what if there is? Edit 9-4-06: Forgot the nut/bolt/spacer on the right. |
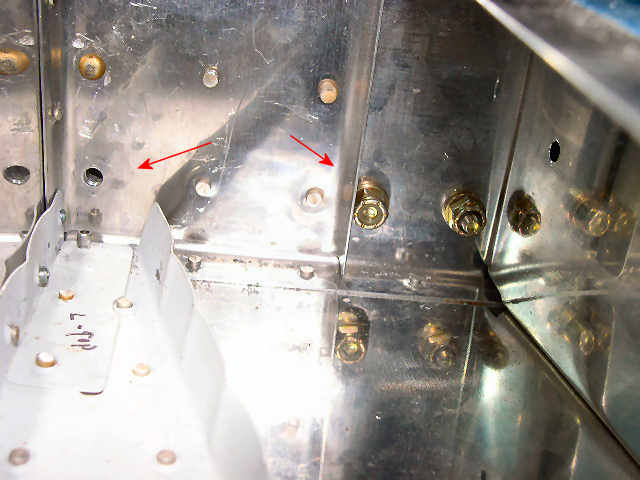 | Error The back side is the real problem. There is an access panel, but it is nearly impossible to get your hand in there to hold a wrench or nut driver. Even if you get a wrench in there, you can't get it on the nut because the nut is right up against the F-705 bulkhead. This really, really, really, sucks. Good job Van. Edit 9-4-06: I just noticed that hole to the left. That is supposed to have a bolt through it with a nut, plus a spacer between the two rear spar bars. Dang, this is going to be a pain to do later! Something like laying on the floor, reaching way back with a nut driver, needing someone to turn the wrench in the back, oh, man what a pain. |
 | Ok, so every problem has a solution, what did I do? I had to grind down the end of a nutdriver so it would fit on the nut. This is the second nut driver that had to be modified for this project. I guess this is just a minor irritation, and not really a design flaw. No one ever said airplanes are made to be worked on? I think someone said they should be, but nobody ever said they are. |
 | Riveting the F-637E hindges to the seat floors on the bench. As usual, I screwed up the first "driven" rivet--bucking bar slipped. |
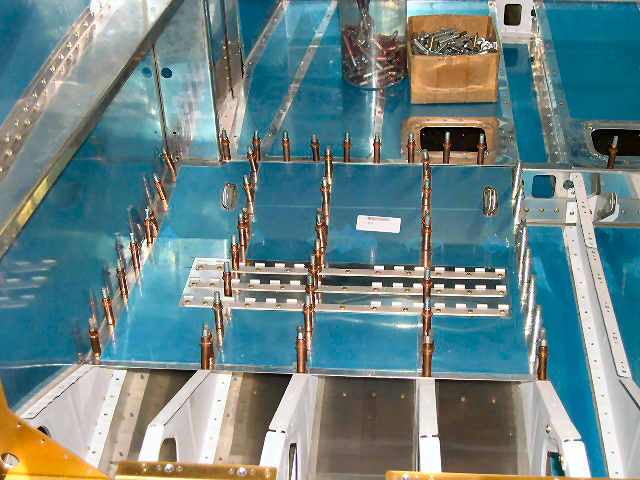
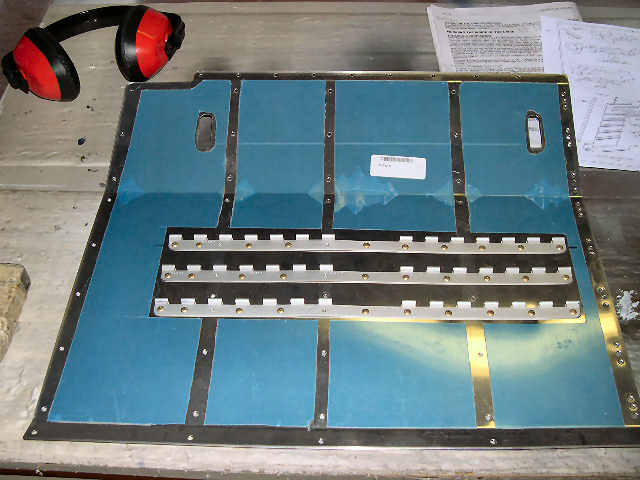 | Alrighty, ready to rivet the right seat floor in. |
 | Let's not forget to remove the blue vinyl from the bottom. BTW, a lot of builders seem to have a problem removing the blue plastic. Here's my technique. Use you fingernail to pull up one corner of the vinyl, grab the part that is sticking up, pull. What's the big deal? Ok, maybe a large surface, like a wing panel, might be a little more work. In that case, if the plastic is a little stubborn, I just use the heat gun on the plastic, which melts the glue, and the plastic comes right off. Again, no big deal. |
 | Final inspection before installing the right seat floor: 1. Blue vinyl, check; 2. seat belt anchor, check; 3. vacuum it out; check. Edit 9-04-06: apparently I forgot the nut and bolt that holds the spacer in the rear spar. |
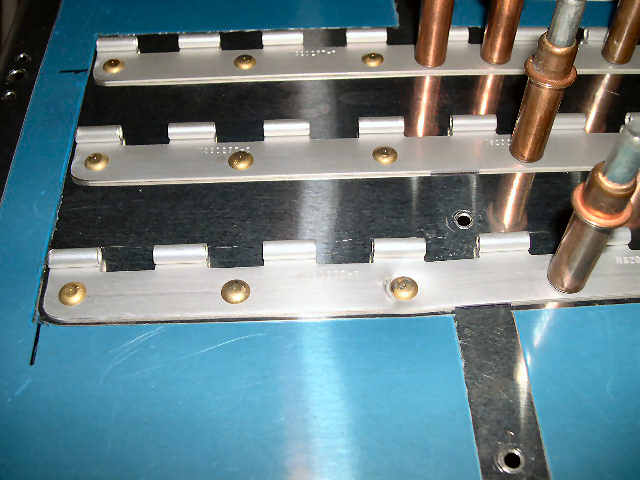
 | Right seat floor cleco'd in place, ready to start popping rivets. |
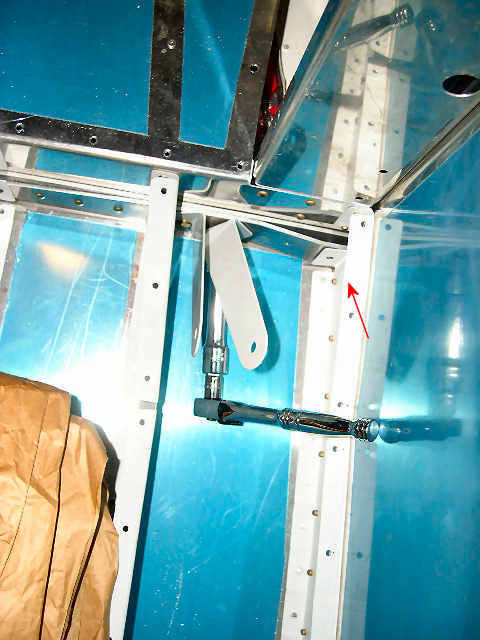
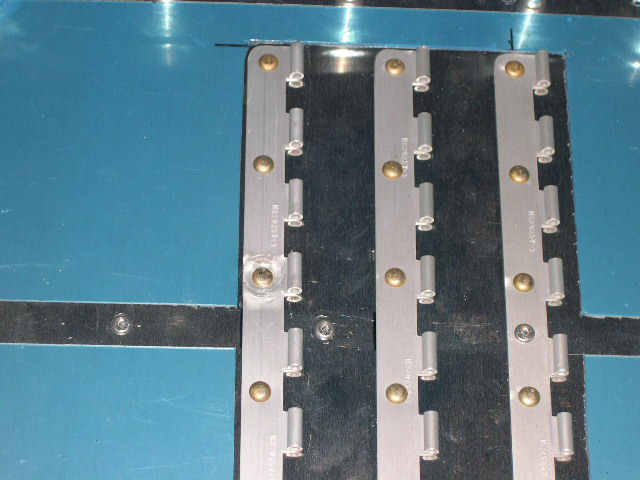
 | Right seat floor installed. Who can see the rivet that needs to be drilled out? Dang, what't the big red arrow there for? Anyway, pay attention when pulling pop rivets, and always push down on the rivet puller. |
 | Dammit! I said pay attention! |
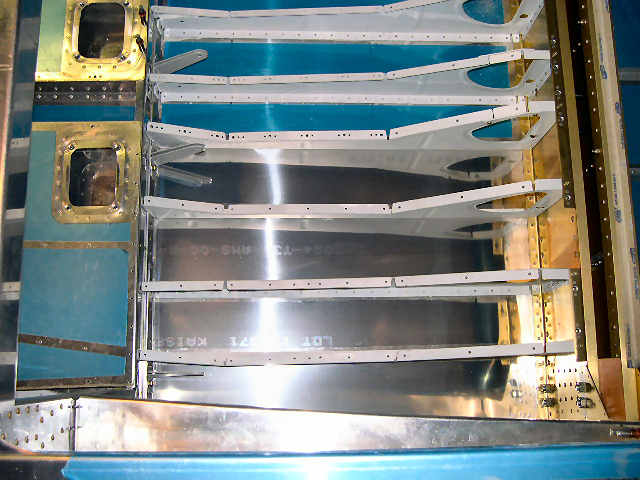
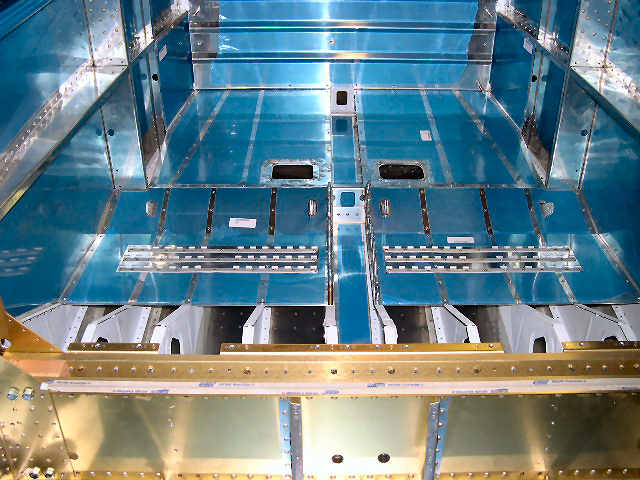 | Both seat floors installed. Looks like I have a little nutplate work to do. |
 | Just how bad is that one rivet that I mucked-up on the left seat hindge--about as bad as it can be. It would have hardly shown if I had just left the first dent, but I tried to hammer it out. Suggestion: Either drill out all of the rivets and replace the whole part, or leave it alone. You cannot hammer out a dent in the hindge material. I have reached my quota of screw-ups for the day, time to quit. |