


Fuselage - Cabin
Fixed my screwup with the rear spar spacers, and got started on the seat backs. Installing the rear spar spacers after the AFT seat floors are riveted on was a major, major, pain! Whatever you do, do not forget to install these before you rivet the AFT seat floors. This little screwup cost two hours for 2 nuts and bolts.
 | Fixing my screwup with the rear spar spacers. First we need to push the spacers into the rear spar, making sure that they line-up with the hole inside the fuselage. |
 | You have to install the bolt and a washer from the FWD side and put a nut and washer on the AFT end. The first spacer took almost an hour, but I got it. |
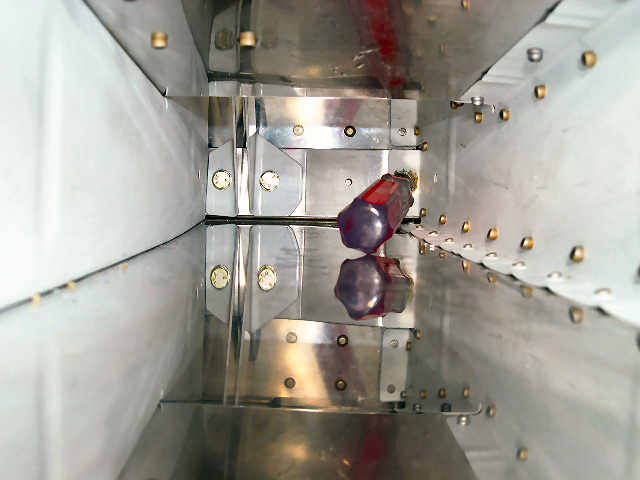
 | The left side only took 40 minutes, even though I ran into a little problem with a stuck bolt that was inserted from the AFT side--don't ask. Hard to see in the mirror, but we're looking at the nutdriver on the bolt. |
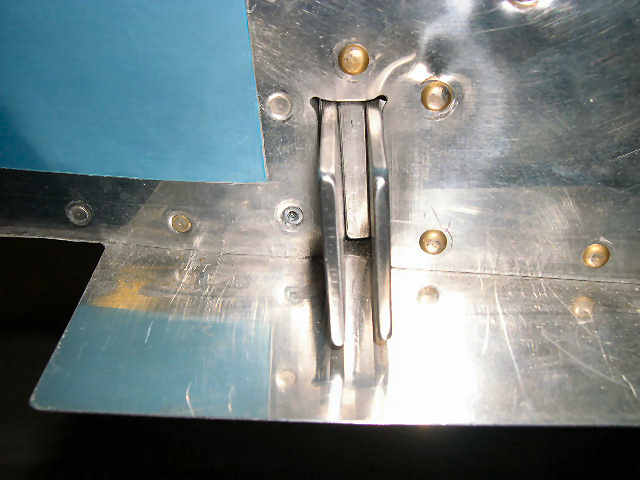
 | View from the inside. Note, you have no view of this when you are trying to insert and hold the bolt. There is less space in here than the picture would imply. I could not even rotate my hand. I had to let go of the nutdriver, rotate my hand, and put it back on the nutdriver. |
 | This is the nut on the AFT side of the F-705 bulkhead. Picture lying on your back, with your right arm reaching under the AFT seat floor, trying to hold a nut driver, while reaching back here and trying to work the rachet without being able to see the bolt or the nut. I think two people could probably do this in 20 minutes. Man, I'm glad this is done! |
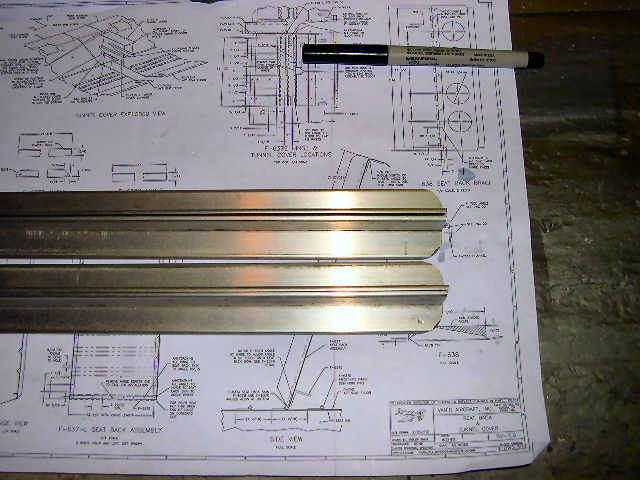
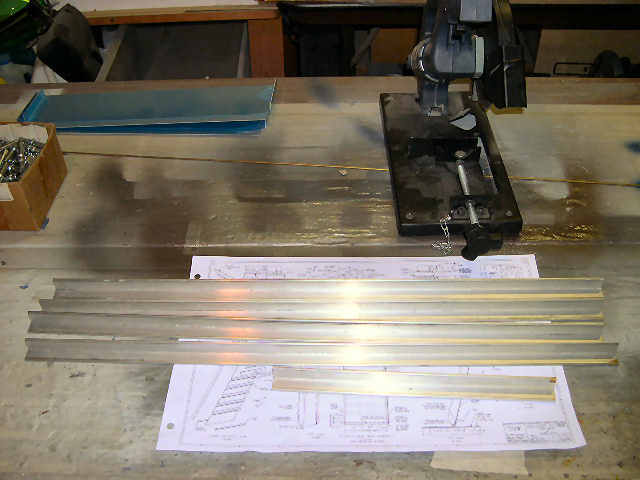 | Ok, on to the seats. Cut the four F-637B side rails for the seats. It looks like I have a foot left over. I'll have to find something to do with it. |
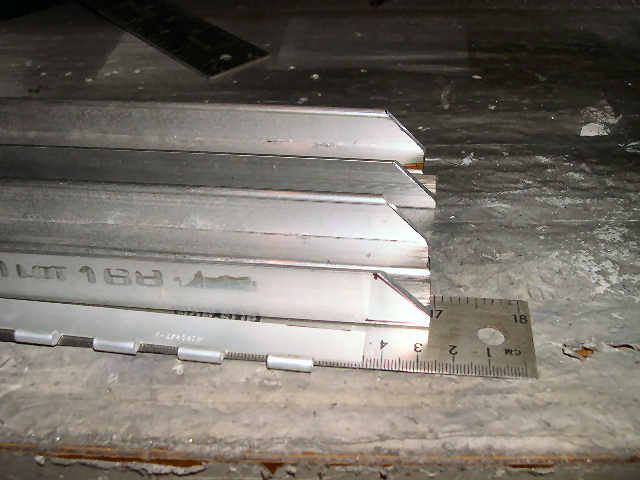 | Cut the ends per the plans, then use a piece of hindge to mark the depth of the notch that needs to be cut on the back side of the rails. |
 | Got to use the Smithy to cut the notches in the back side of the side rails. |
 | Unfortunately, I had a little problem getting the Smithy setup properly, and I gouged the first piece a little. |
 | The other 3 cuts went a lot better. |
 | Looks like the depth is right. |
 | I cut the corner off the other end, and then rounded them on the disc sander. |