


Fuselage - Cabin
Continue to work on the parts of the electric flaps. Riveted all of the pieces of the F-766A assembly and the F-785A backrest brace. Connected the flap actuator assembly and moved the motor in and out a few times--woo hoo!
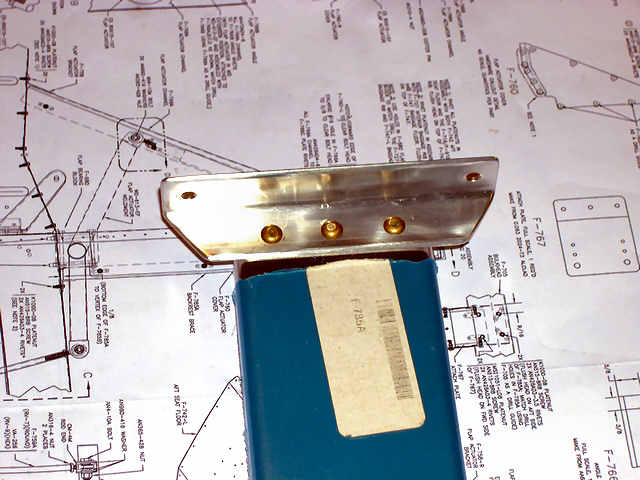
 | Rivet the F-758 brackets to the bottom end of F-766A. BTW, -5 rivets are too long, -4 works. |
 | Dimpled F-766A and countersunk F-766C. Drilled the bolt hole in F-766A, so the bolt head is slightly recessed inside F-766A. Ready to rivet. BTW, -6 rivets are too long, but -5s are a little short. |
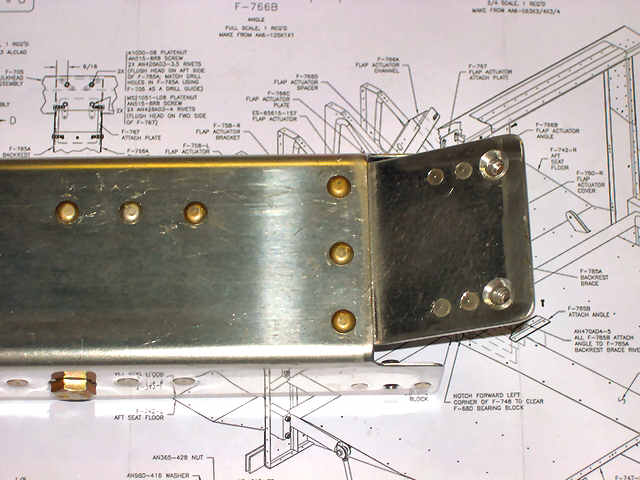
 | The bottom rivet on F-766B cannot be reached with my 3" squeezer, so I gave the C-Frame a try, again--worked great. Apparently, it helps to place the C-Frame on the concrete floor, rather than the top of my padded shop table. |
 | On F-766C, the left rivet is -6, the two middle rivets are -5, and the right rivet is -5.5. I think the -5s are best. On F-766B, the outside rivets are -5, and the mangled middle rivet is -6. Avoid the -6s. |
 | Rivet F-785B to F-785A. Again, -5 rivets are too long. To be honest, we are at the stage in the build where we need to just recognize the right size of rivet to use, rather than trusting what the plans say. |
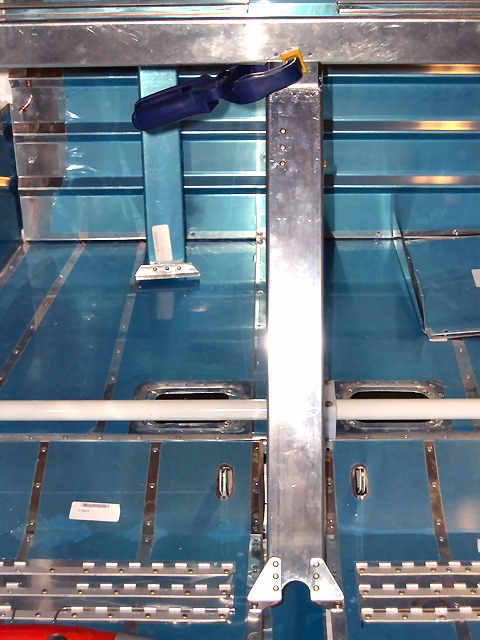 | Screw F-766A to the floor through the F-758 brackets and clamp the top end of F-767 to the F-705 bulkhead. Now, we can match drill F-767 to F-705. |
 | Riveted F-767 to F-766A, and attached nutplates to F-767. I really screwed-up the screw holes in F-767 and spent a lot of time fixing the screw-up. You probably cannot see what's wrong, and how it was fixed. Hint: why are the holes where the screws go through F-767 countersunk? Not pretty, but serviceable. |
 | Fully extended - 6 1/4". |
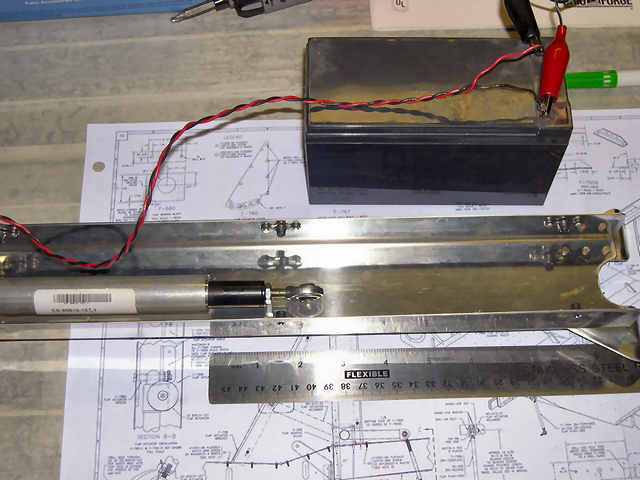 | Fully retracted - 1 1/4". |
 | That makes the midpoint 2 1/2", which I have marked with masking tape. Of course, this assembly moves in and out, so later I removed the tape and marked the midpoint with a marker, which cannot be read. |